

Welcome back to another project. A massive 3-panel wood laser cut 3d topographic map of the world. Nearly 50 design hours, 70 build hours, and 6 months of planning and collaboration. This is absolutely the biggest project we’ve tackled to date. And I’m going to lay it all out for yall, with links to the full set of plans and illustrator files on my Patreon page, so a huge chunk of the work is already done for you!
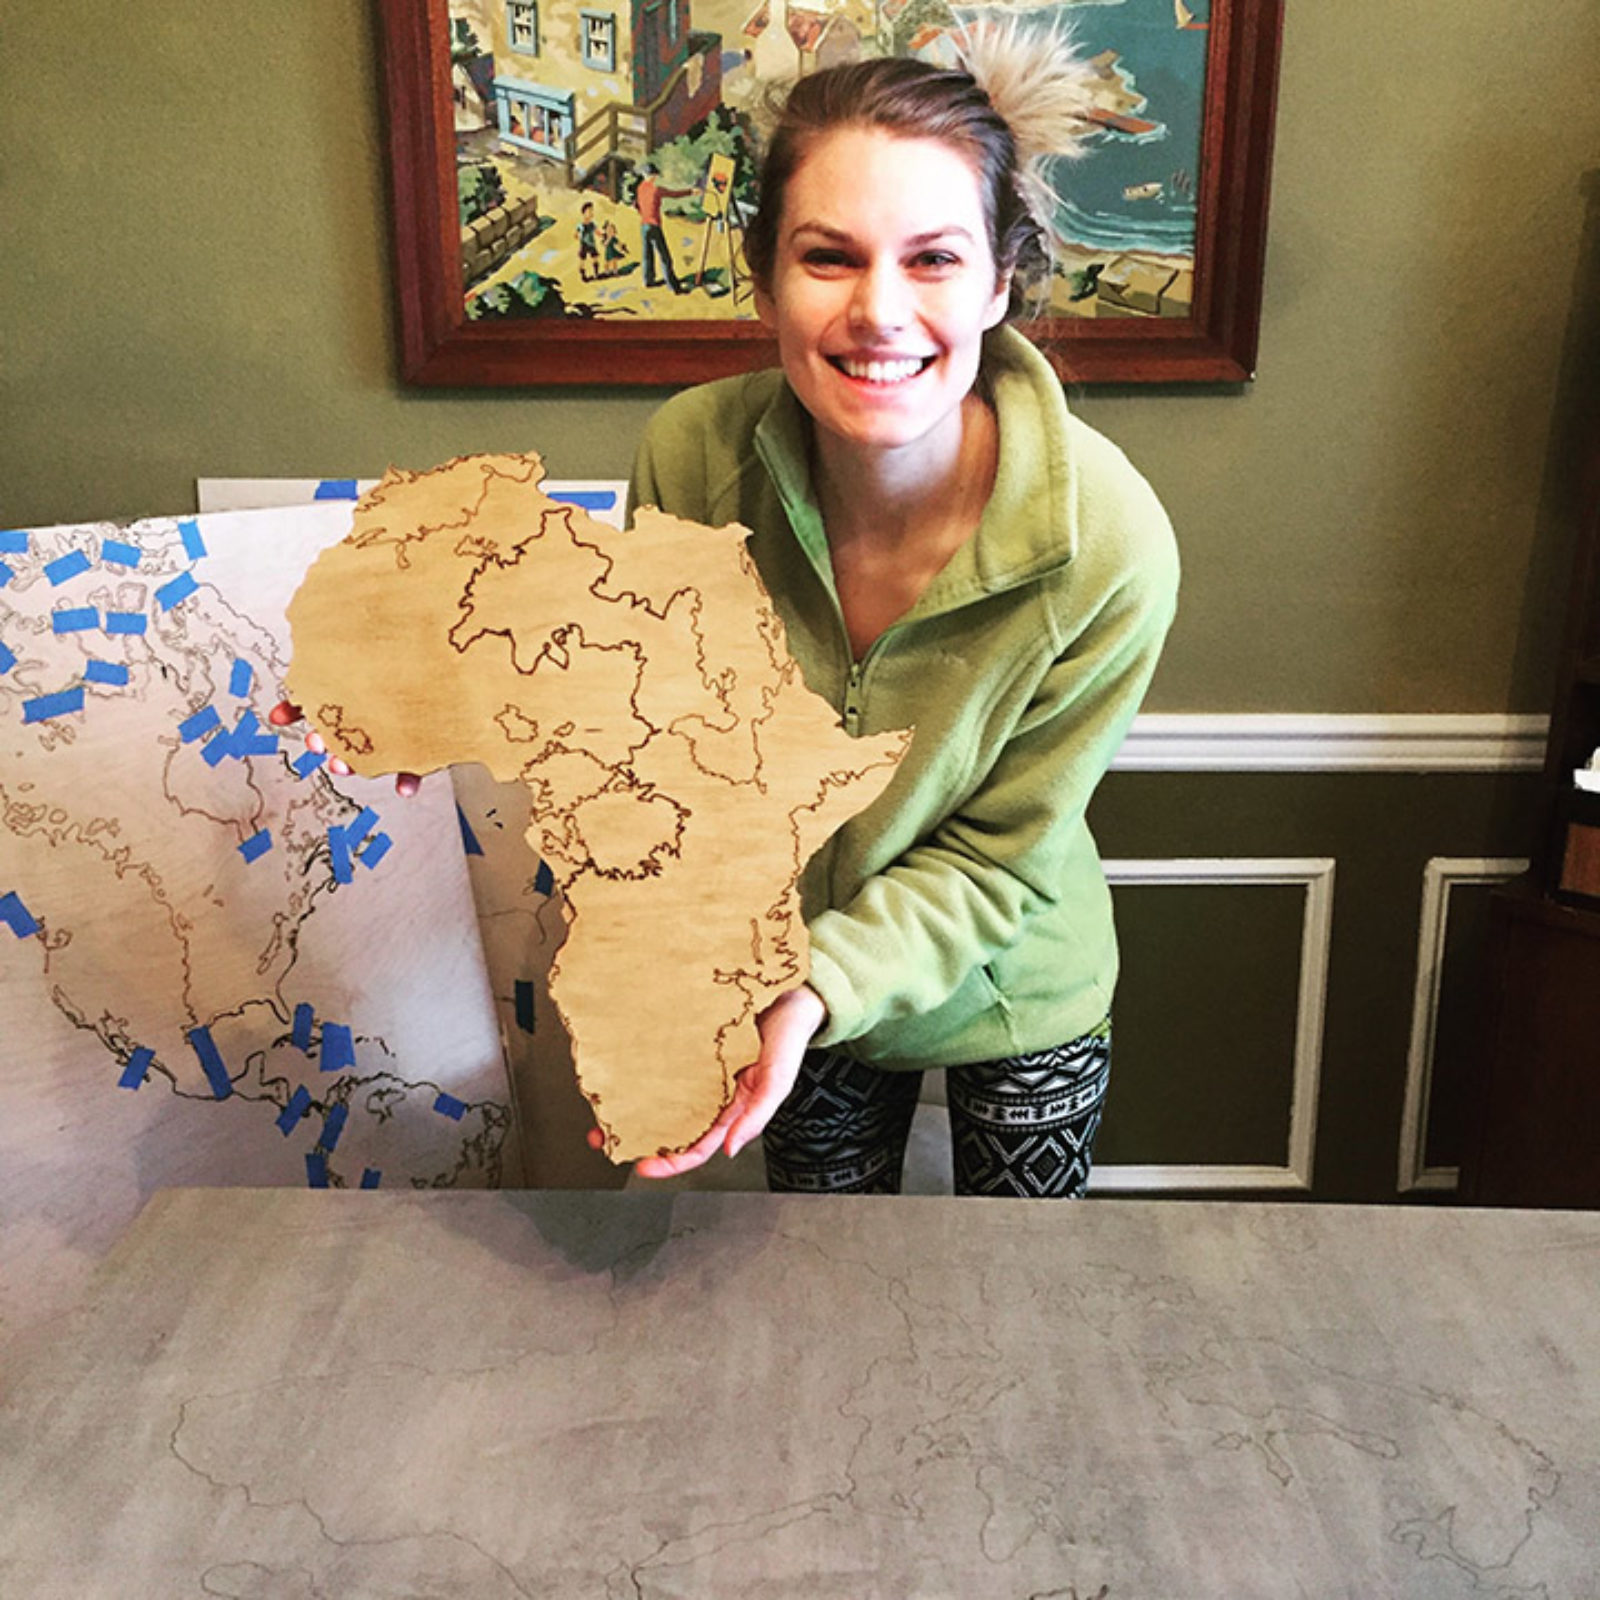
This map was created for the church that my wife and I attend as a way to inform members and visitors alike about the various missions and missionaries our church supports around the world. So in addition to the map of the world, we created panels that represent those people and places, and they are overlaid on the main body of the map itself. I might touch on the process of creating those city level maps in another tutorial, but the focus of this one is on the big world map.
How to Build
Step 1: Get the plans
I provide everything you need over on our Patreon page, so head over there real quick and download the full set of illustrator files!
Get the Full Plans on Patreon!
This project has a full schematic and set of plans over on our Patreon page! Follow the link to download the whole set.
Get the PlansThese plans were created with two programs: ArcGIS Pro, and Adobe Illustrator.
ArcGIS Pro is an incredible tool for map making, and it’s also very expensive, but you can download a 21 day trial, which is what I used to create this set of maps.
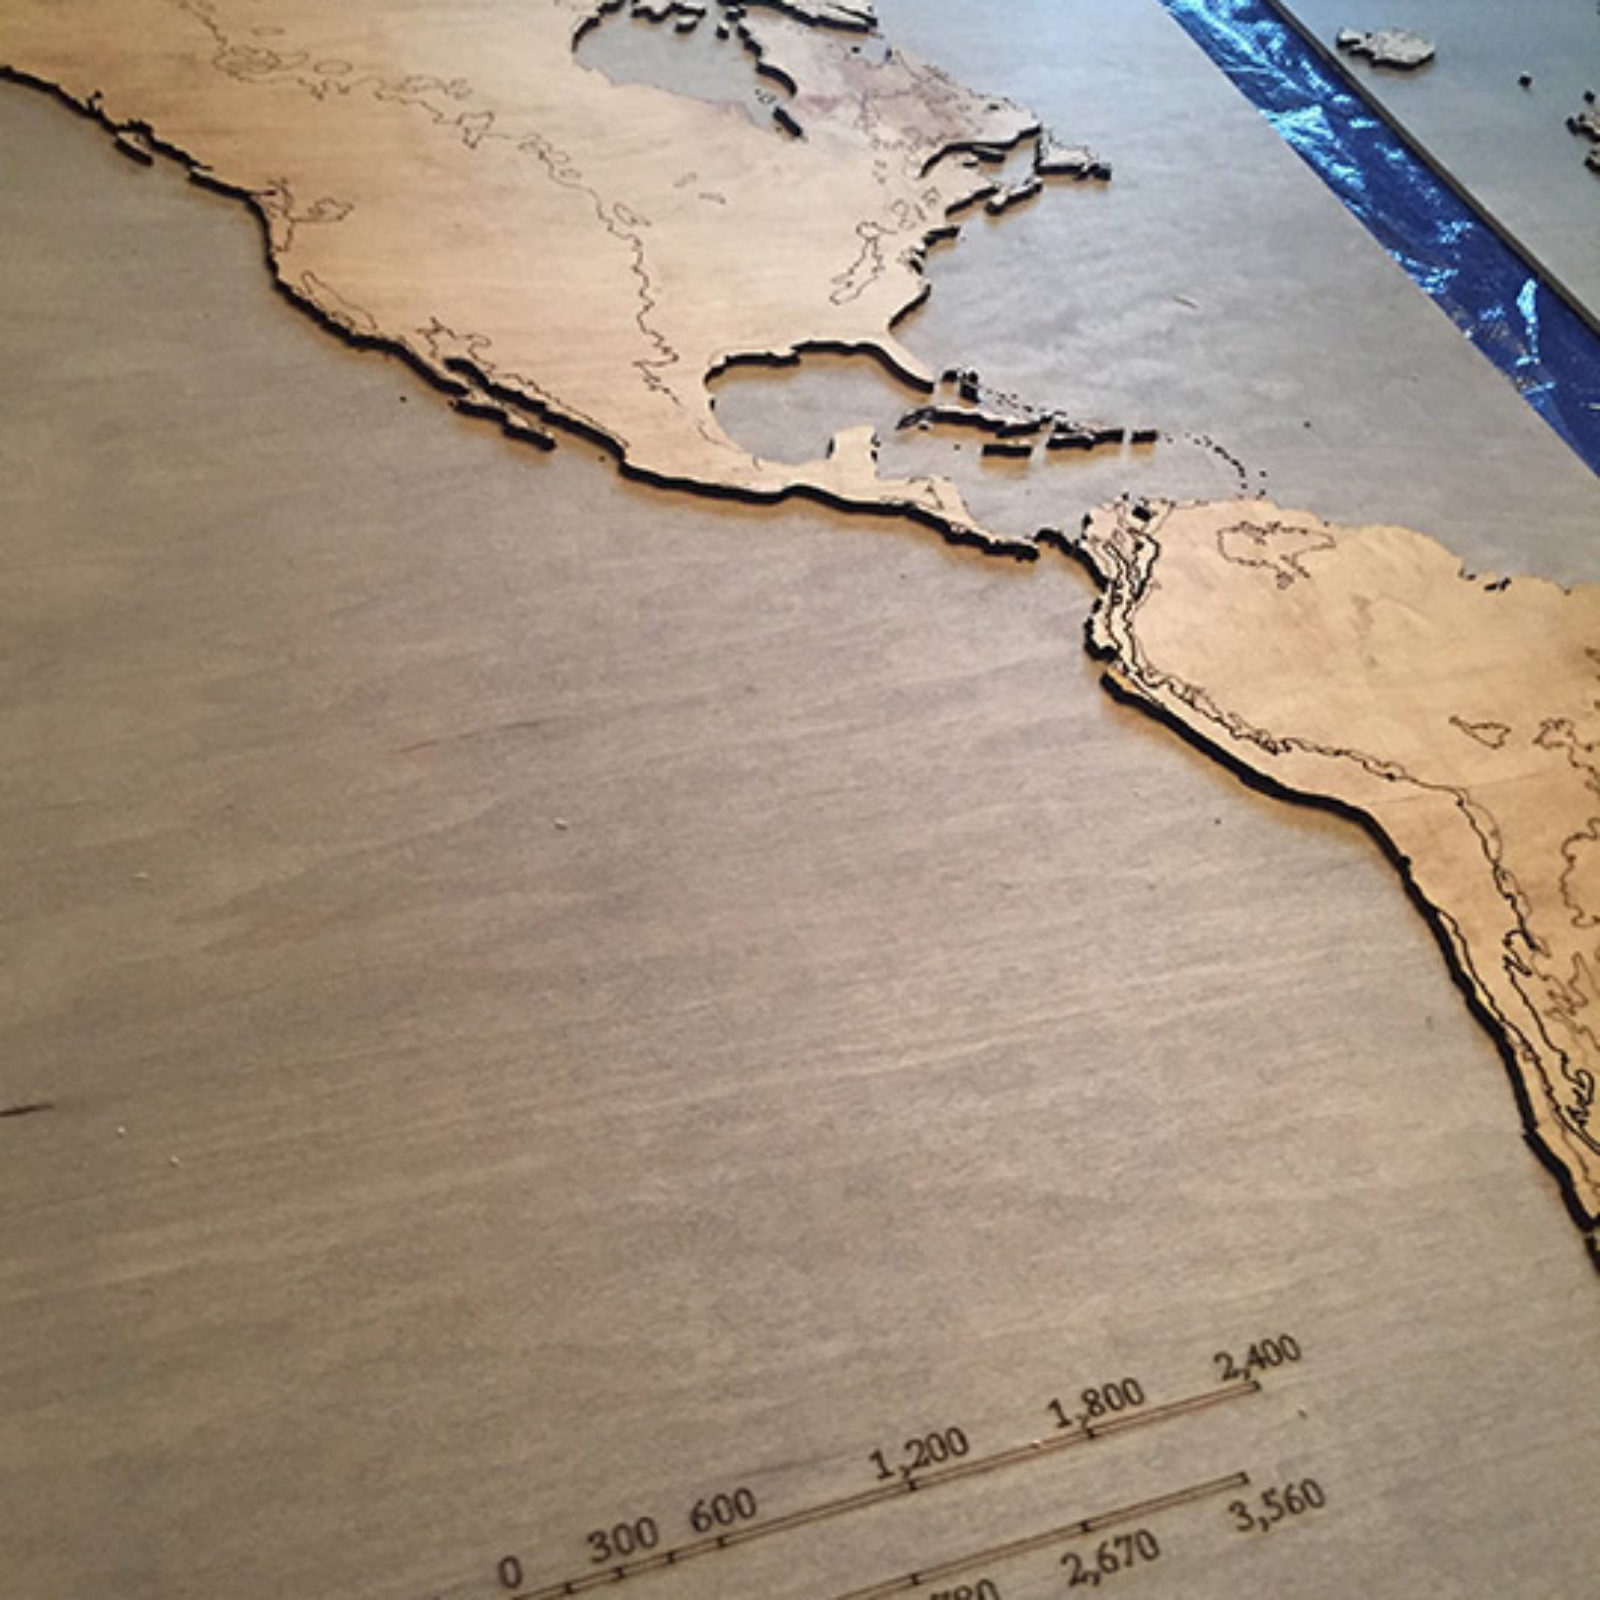
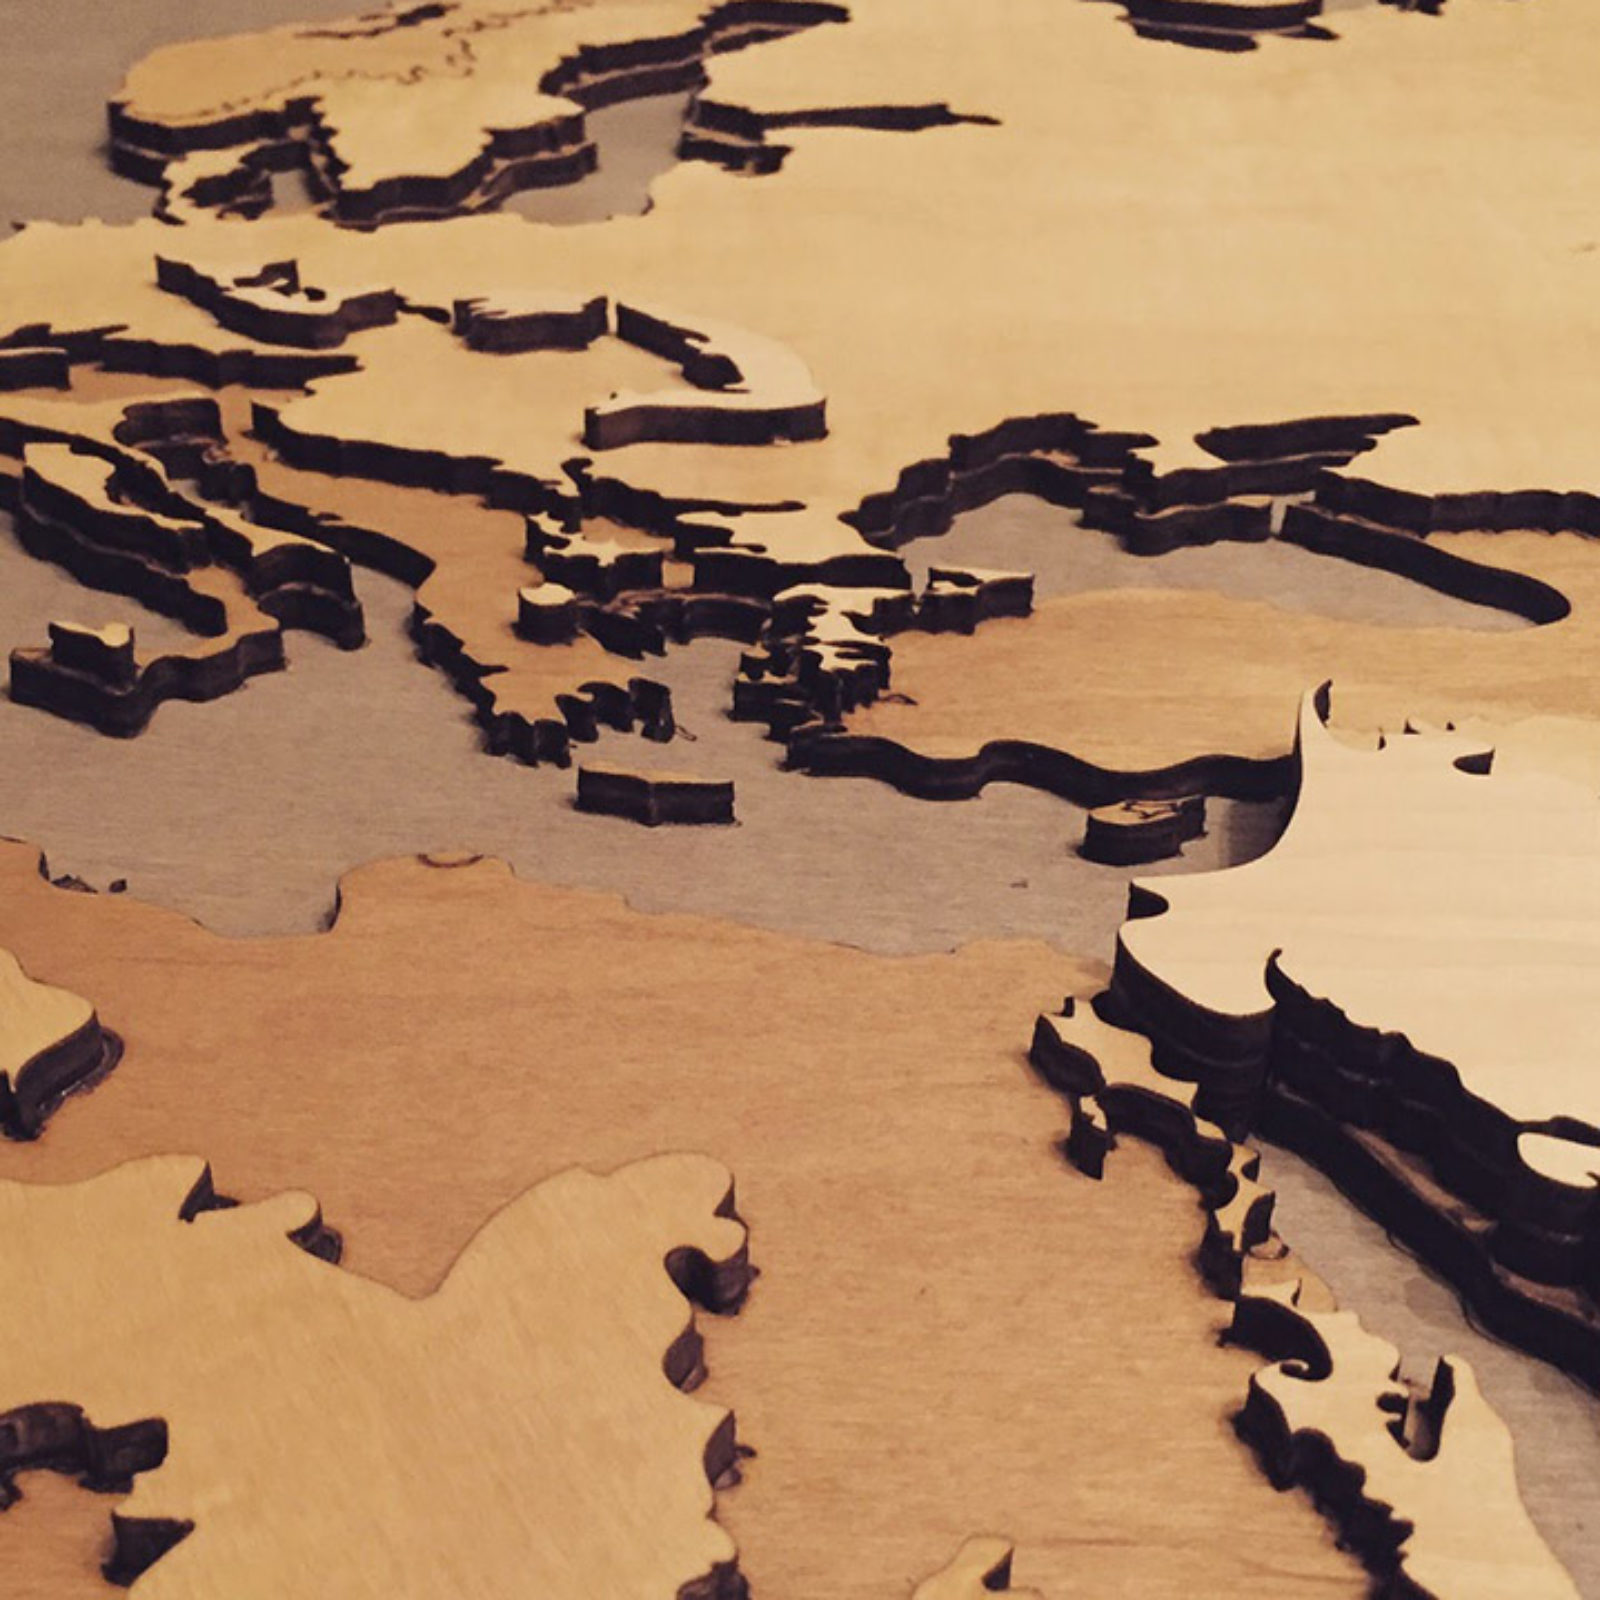
You first define the workspace (28″W x 48″H here), import various publicly available maps (I used their continent maps), and then applied a filter that separated out the landscape into four distinct sections, based on topographical height in increments of 500′ elevation.
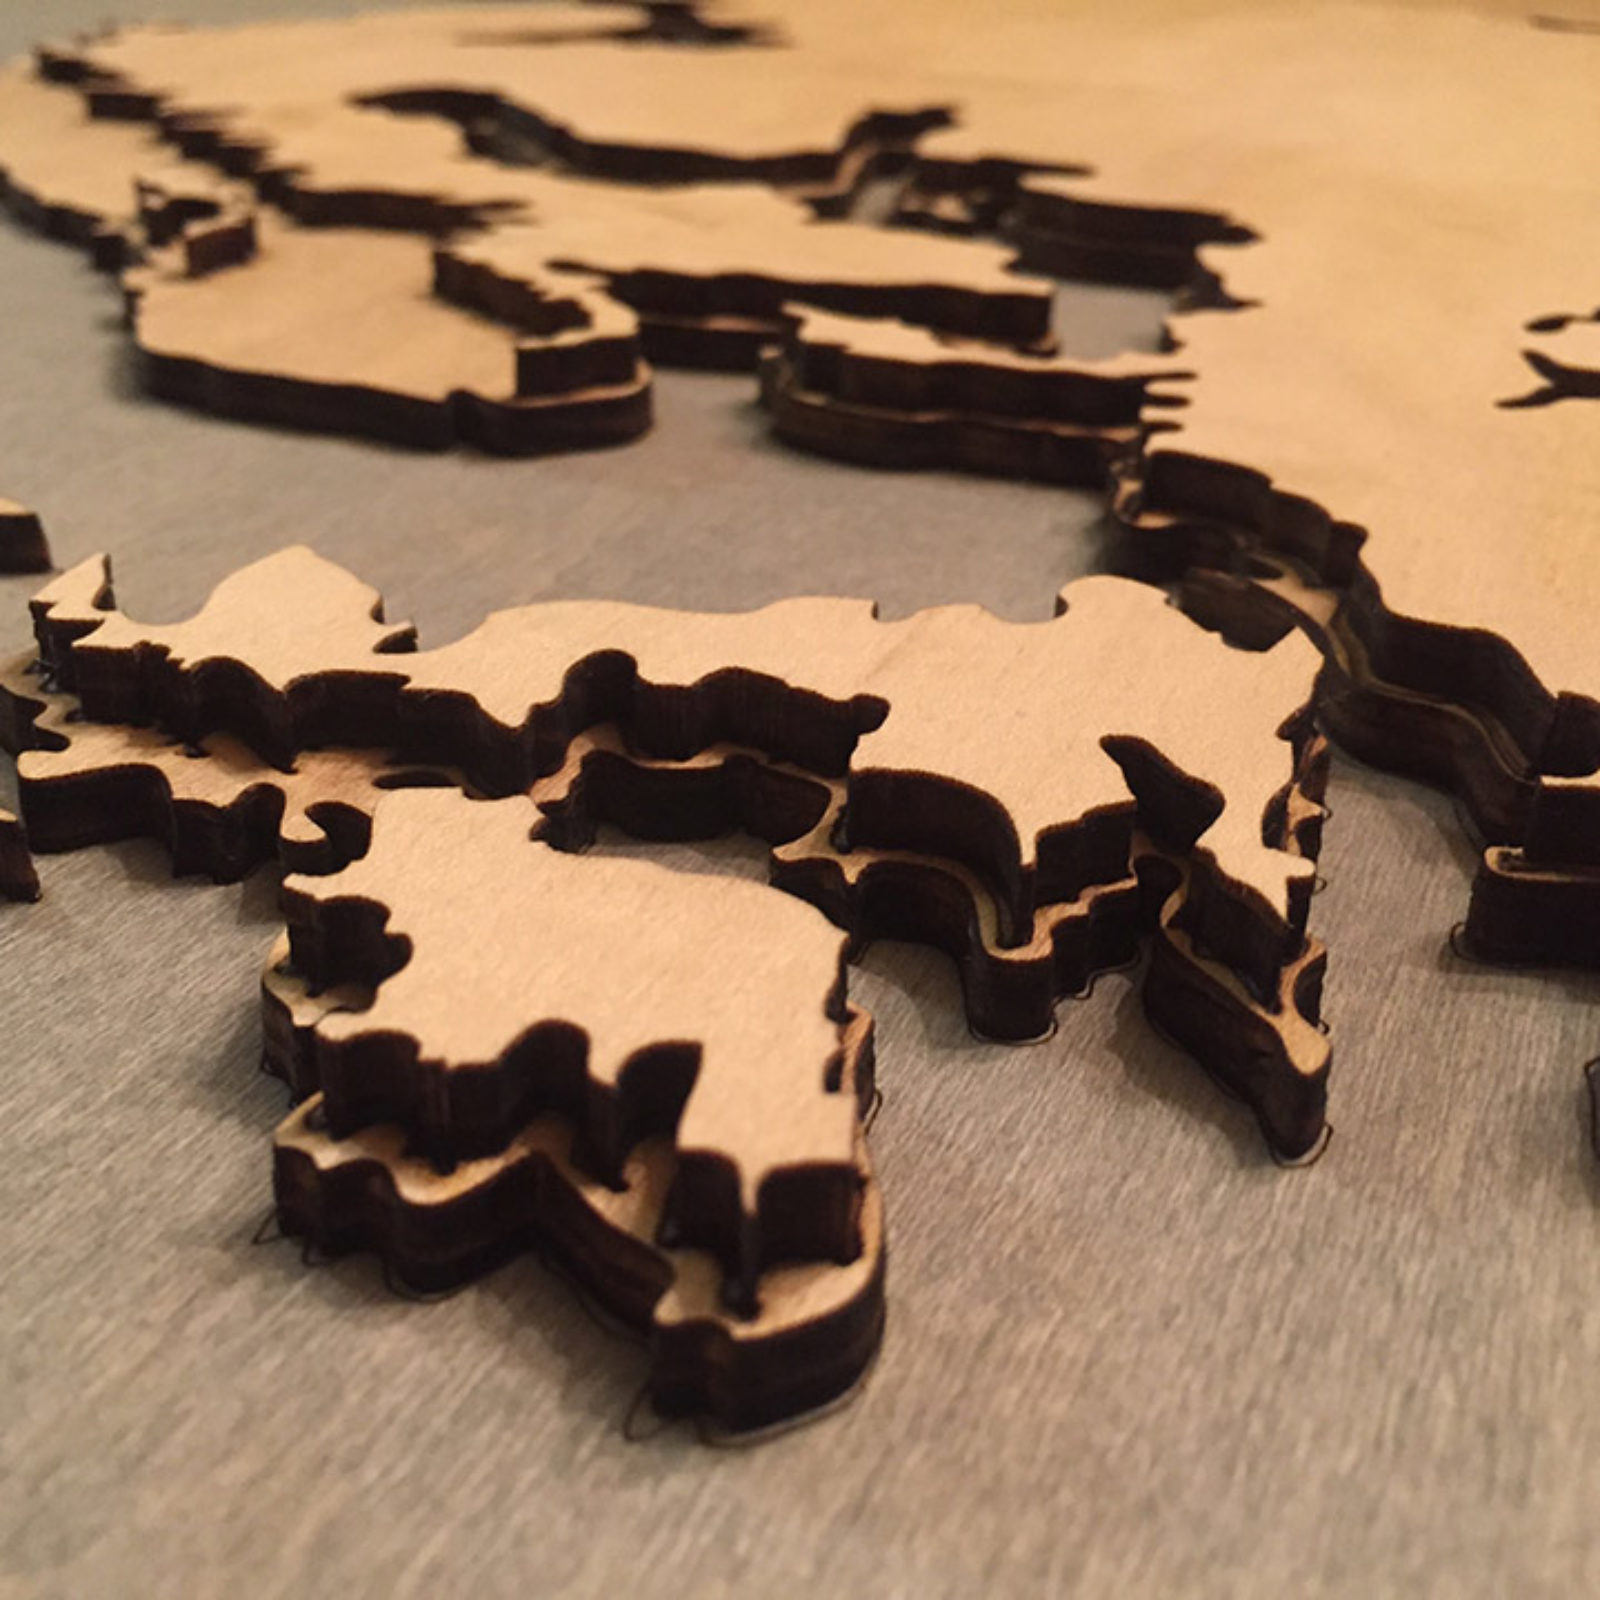
Each elevation level will correspond to a level of wood thickness (1/8″) and will stack on top of the previous layer.
I then imported those files into adobe illustrator and cleaned them up. There are thousands upon thousands of small pieces that transferred in from ArcGIS and so I filtered them by size, and kept only the pieces that were large enough to actually see at scale and large enough to physically be cut out of the wood. You’ll see later on that even some of these are tiny little pieces of wood slivers and I only kept the largest 1000 or so pieces on each of the three panels. You can sort the layers in illustrator by “length” if you want to see for yourself.
Step 2: Gather your Materials
If you want to do exactly what I did, you’ll need at least 3 – 4’x8′ panels of plywood (1/8″ thick). (possibly 4 panels if you mess up any of the cuts, like I did) I used quality pre-sanded maple plywood, which is about $40 a sheet. I had the panels ripped down to 29″ wide in the store to fit in the car (28″ is the final dimension so there was some leftover on the edges).
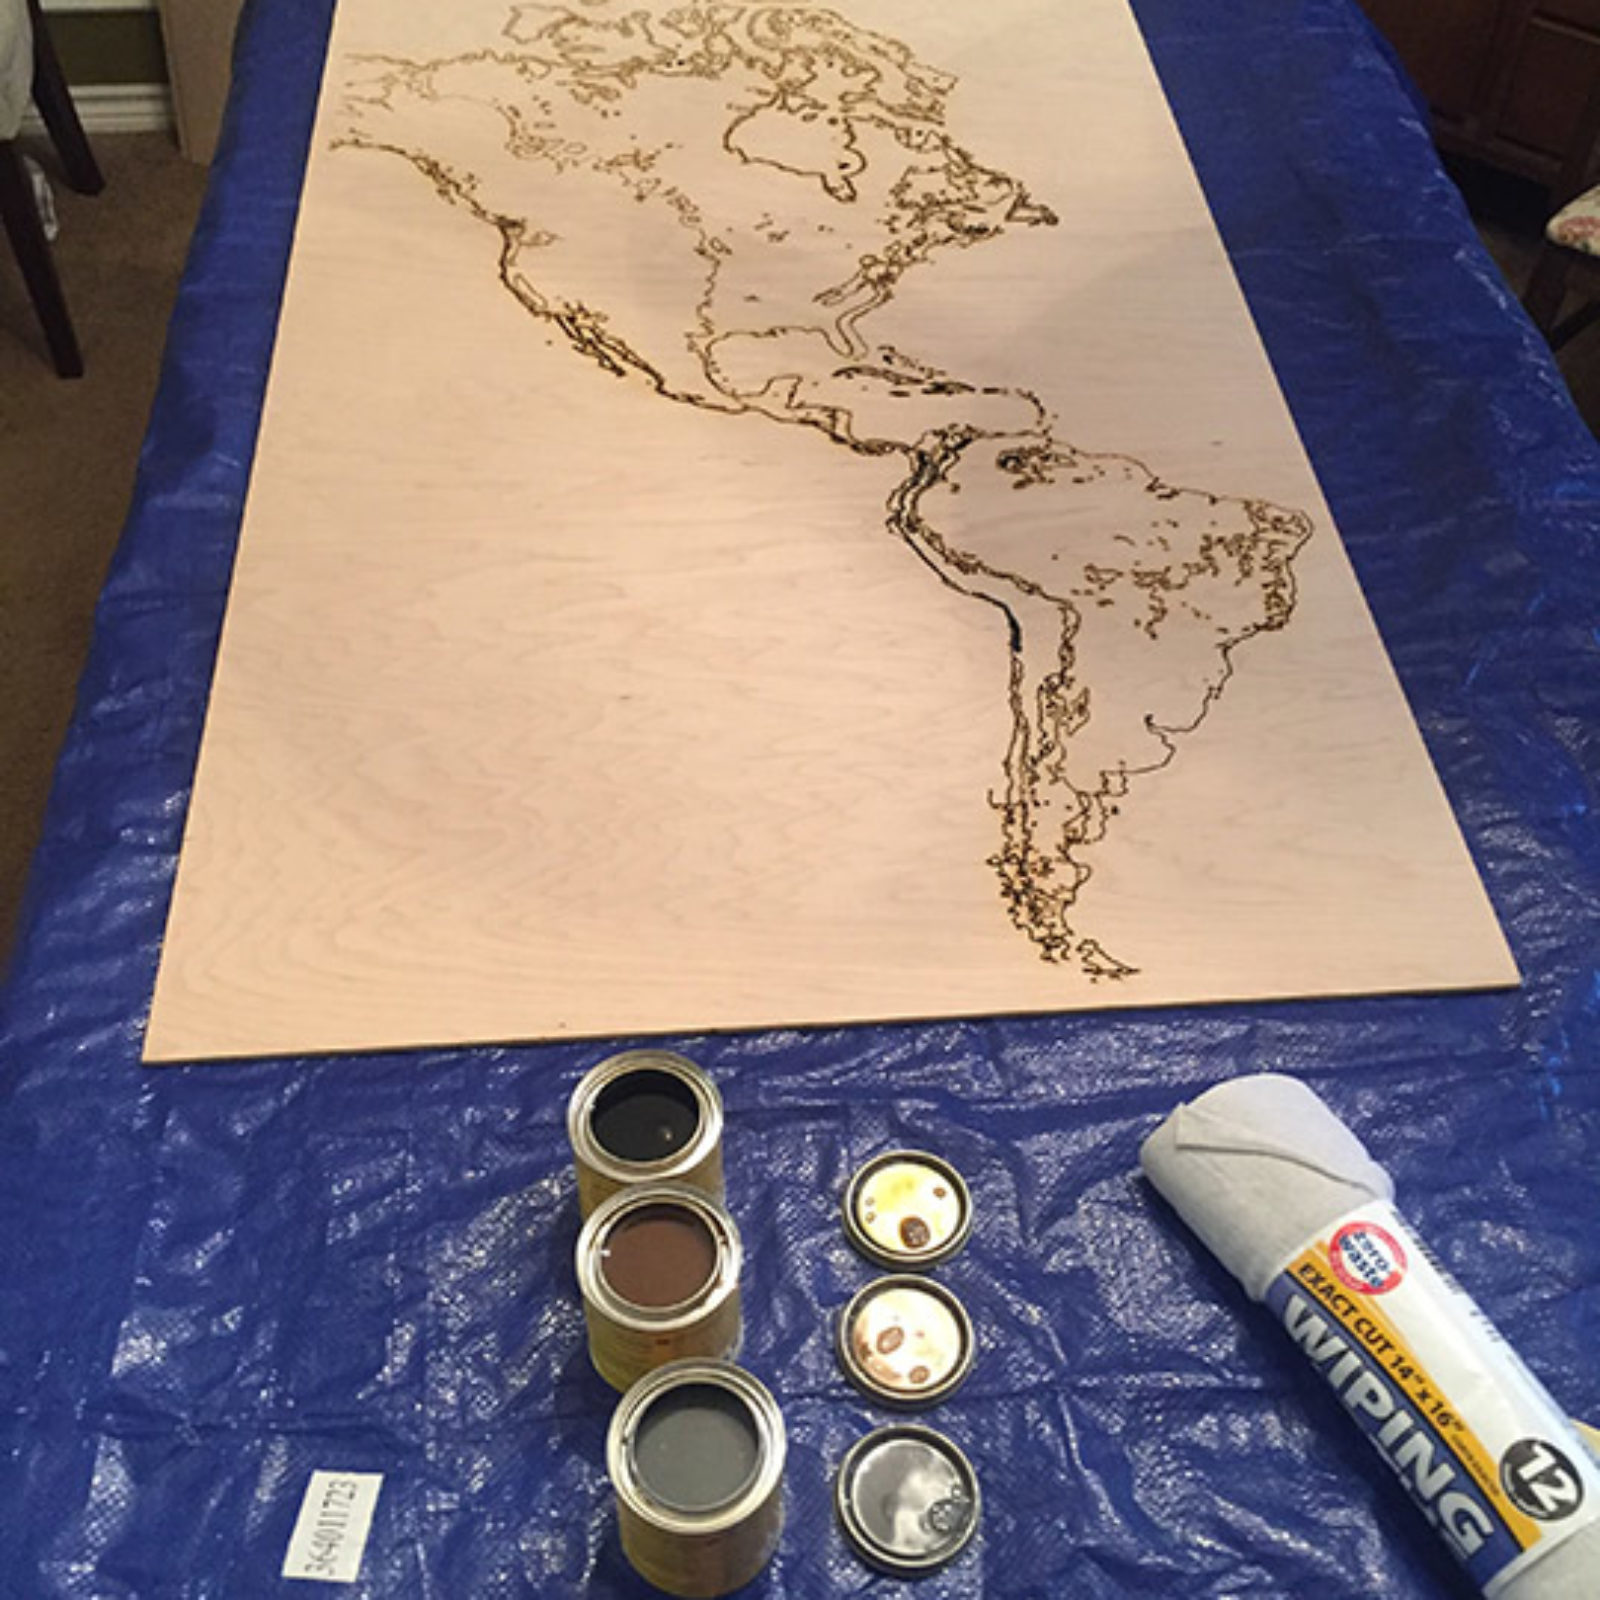
You’ll also need 4 colors of stain (or 3 colors and the top will be natural maple). I used a grey-blue for the ocean layer (the back), and then three shades of progressively lighter colors for the elevation of the land. And stain wipe cloths to remove extra stain and blend each color to the same consistency.
You’ll need foam brushes, sandpaper (up to 400 grit) and blue painters tape. I also used a large drop cloth to cover my dining room table for staining the pieces inside.
You’ll also need CA glue (a type of superglue used in woodworking).
Step 3: Laser cut your pieces
While its possible to cut all this out by hand, especially if you just want to do the larger pieces, its much more accurate and much faster to find a place with a laser cutter. Since I live in Dallas, I joined the Dallas Makerspace, and they have a couple of large bed laser cutters that can be used once you take a training class, and it’s really a lot of fun. I highly recommend you find a laser cutter to use. Google around your area and see if there is a local makerspace near you.
Each of the three panels has an illustrator file associated with it, and in each file, there are layers that are divided out by color and elevation.
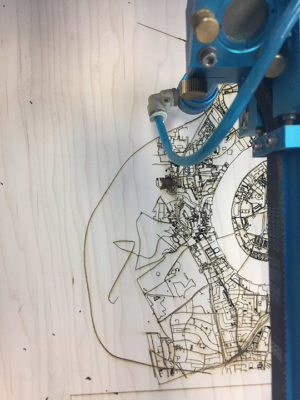
Example laser cut (this is a city map of london)
For each piece of wood, you want to do two things:
- Burn the layer that is above so you know where the pieces will go, and
- Cut the layer that you are currently on
So for the bottom layer that is the oceans, you just want to burn the layer above that is the outline of the main landmasses
For layer 2, you want to burn the third layer and then cut out the second layer, which is the main landmasses and islands.
For layer 3, you want to burn the fourth layer and cut out the third layer.
For layer 4, you want to just cut out the fourth layer.
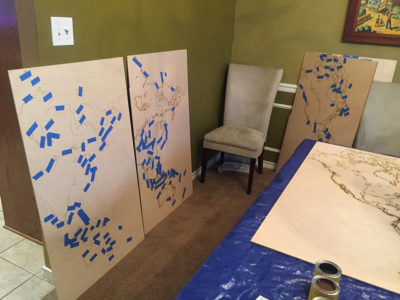
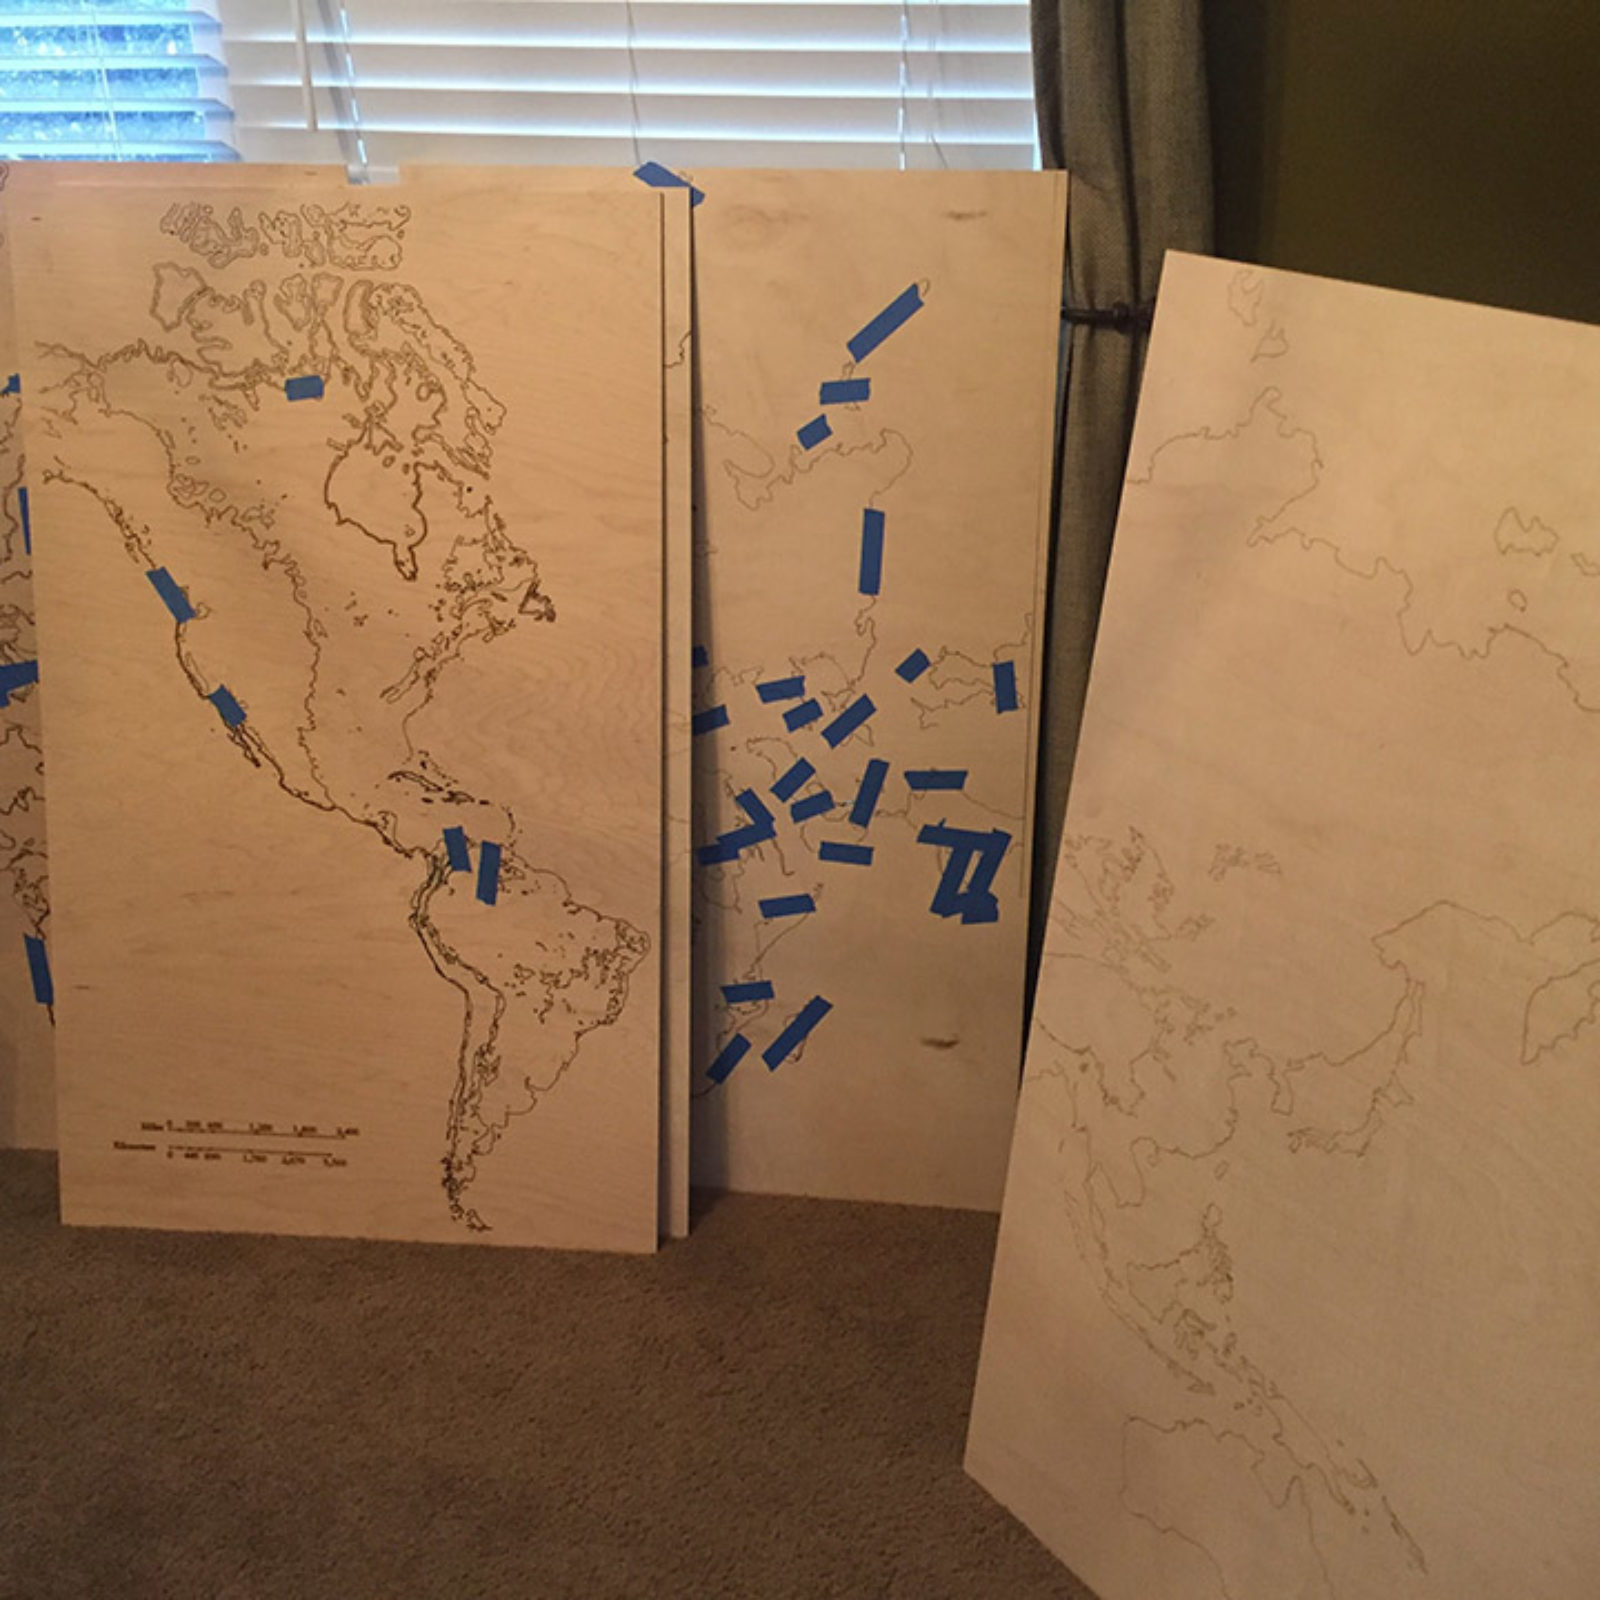
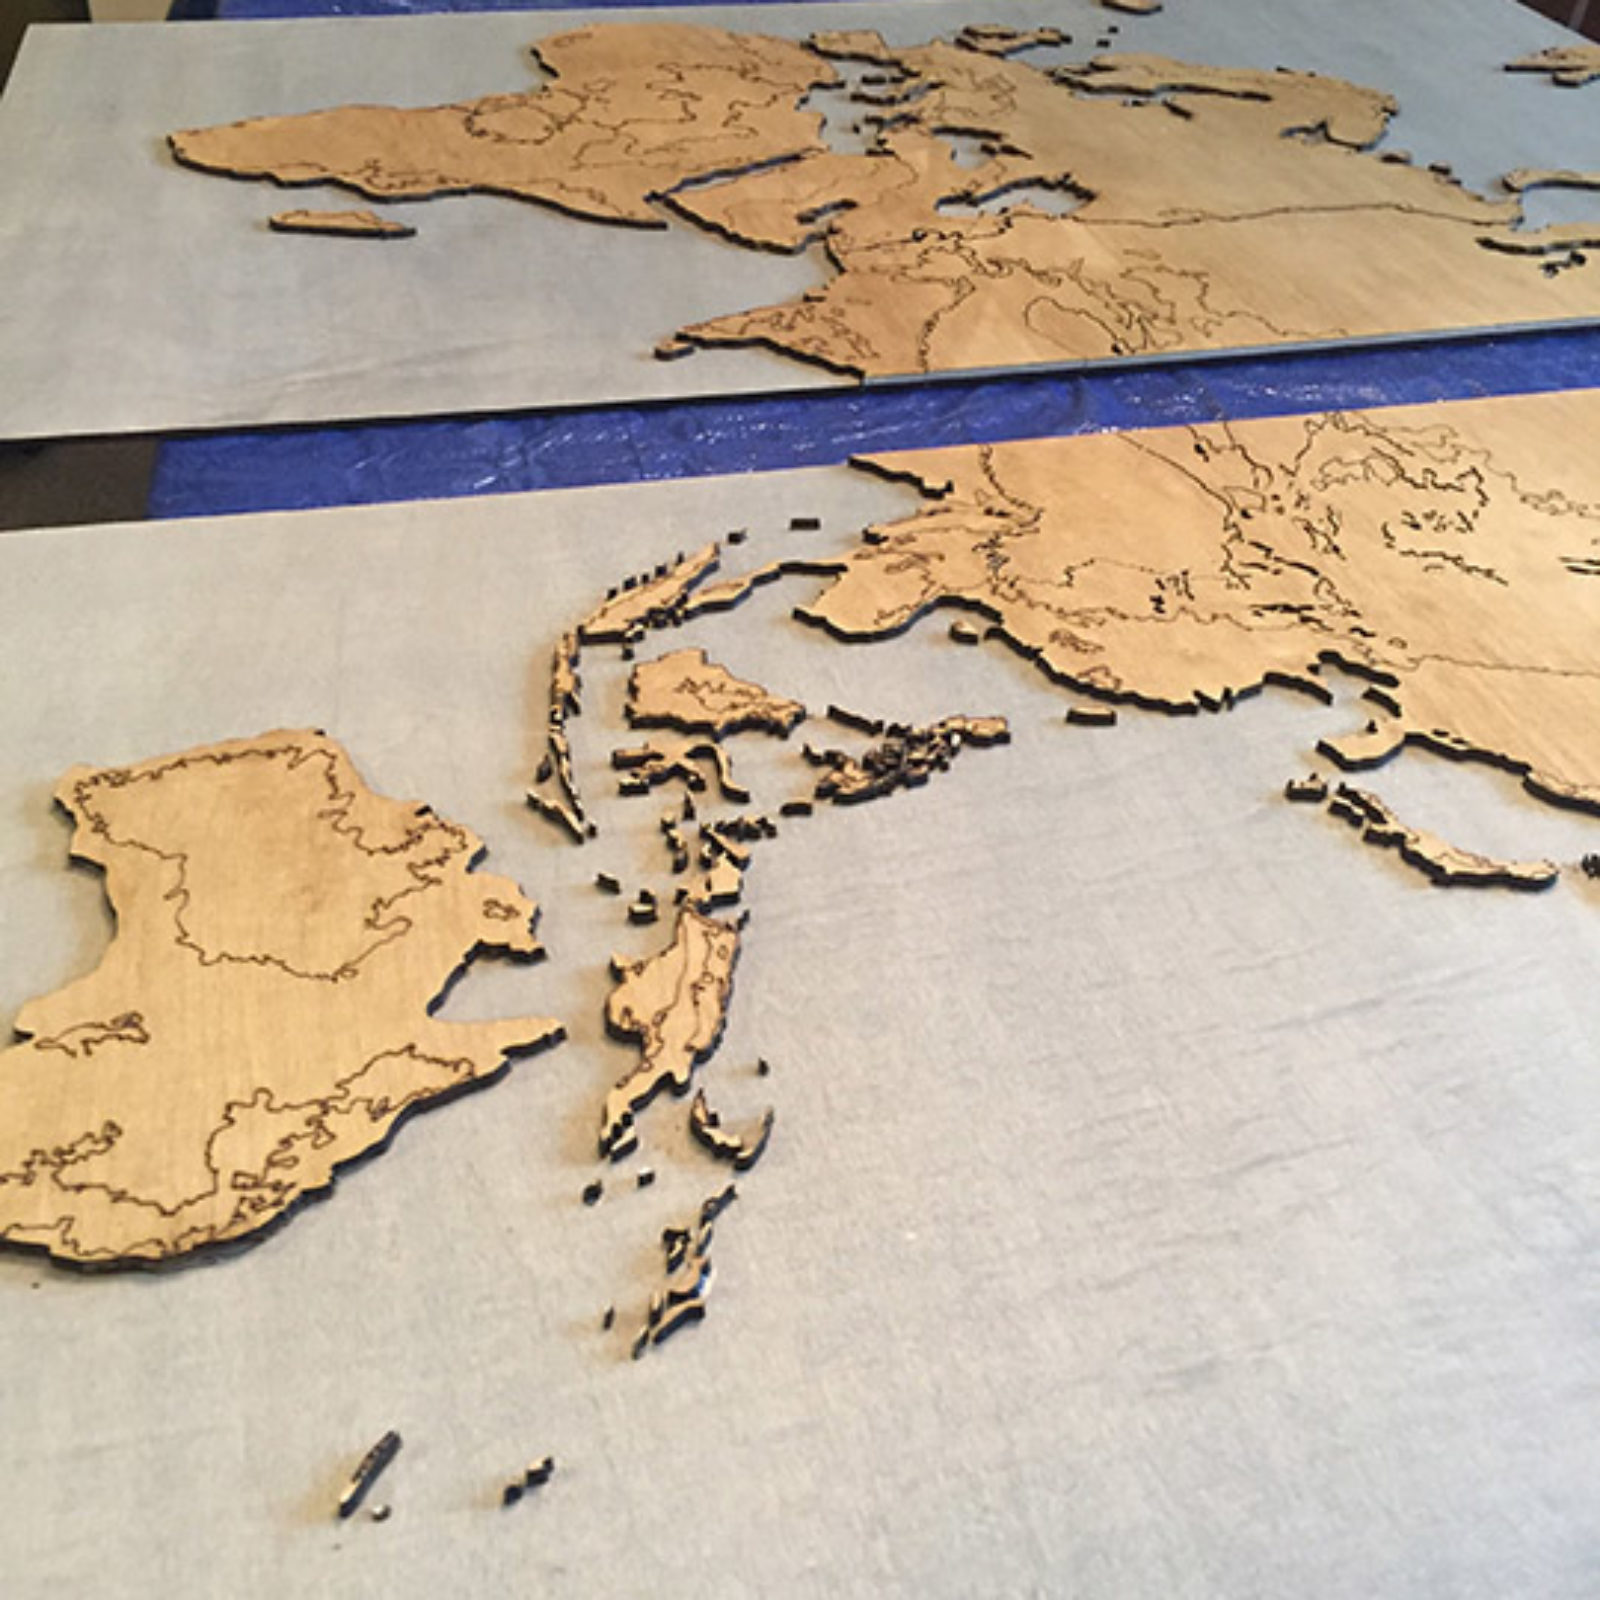
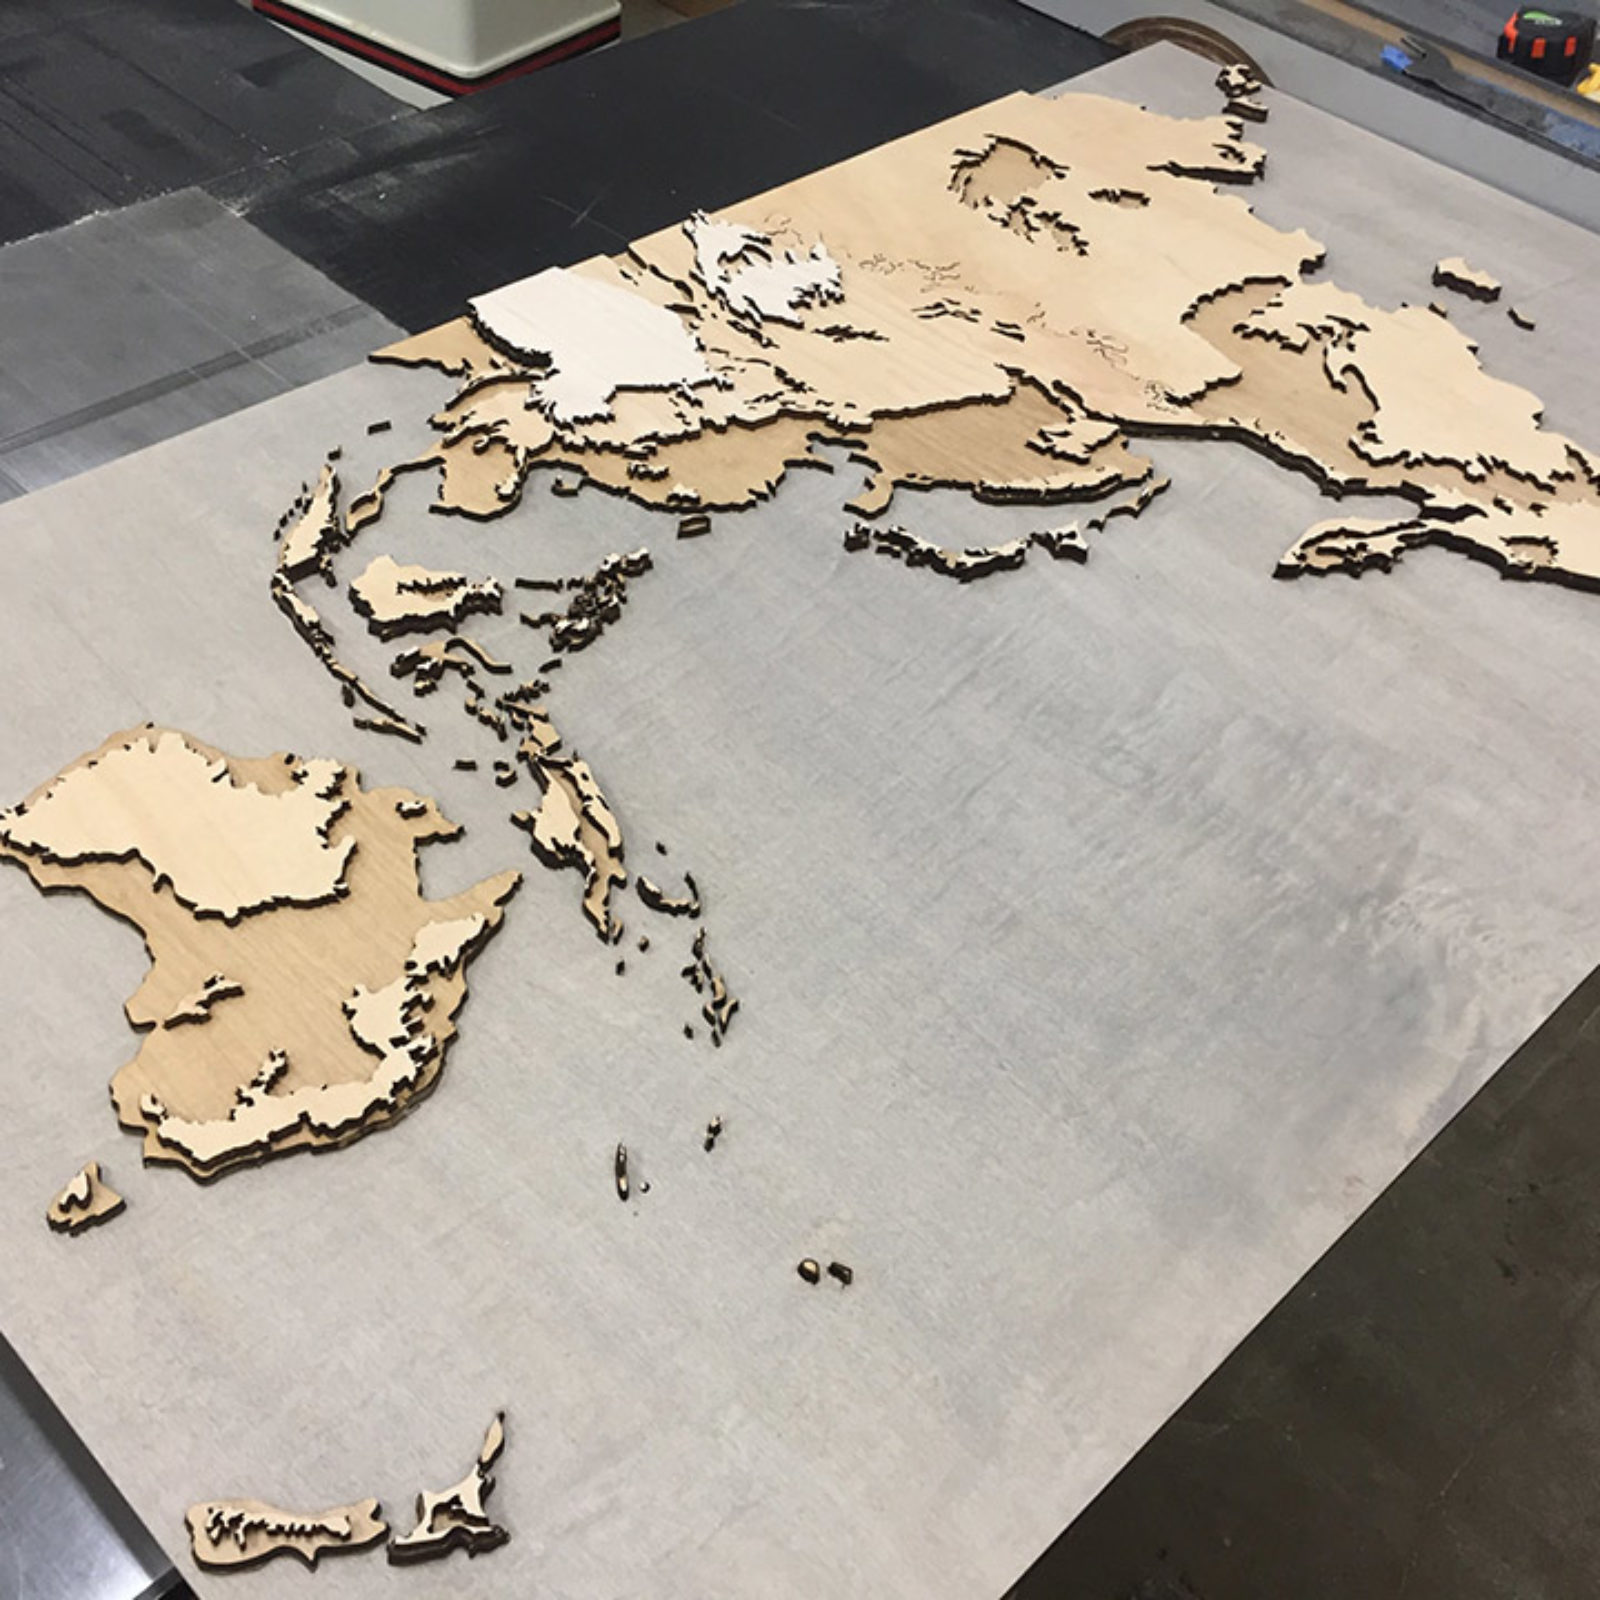
All the pieces are taped to the boards they were cut from to make it easy to see where they go.
As you finish up each piece’s cut, cover the top of the panel with blue painters tape to prevent any pieces from falling out and getting lost forever. Once you have the panel out of the cutter, cover the bottom side of the panel with blue painters tape as well. Be liberal. You don’t want to lose a single piece. The tape will keep the pieces in place on the panels until you get them to where you are going to stain them.
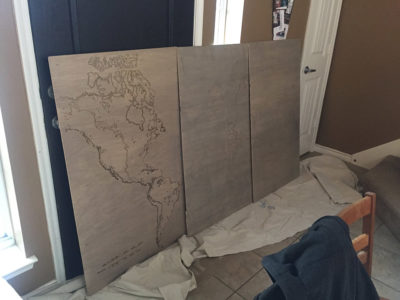
Layer 1 panels stained grey-blue
Step 4: Stain
Setup your work area with a painters drop cloth and carefully remove the tape from the front of the panel. I found that doing all three panels on the same layer helped me keep the color consistent across all three. Then I would set them aside and grab the next three.
Apply your stain with a foam brush and gently use a clean cotton stain rag to blend and wipe off extra stain. Aim for a uniform color across all three panels. I didn’t worry about staining the sides of every piece because A) that would take forever and B) I like the look of the burn where the laser cut.
Give everything a couple hours to dry.
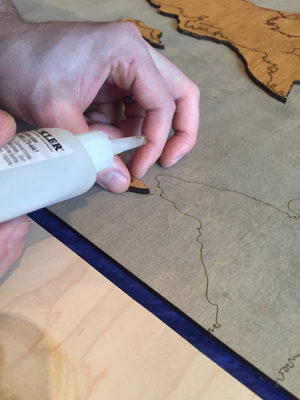
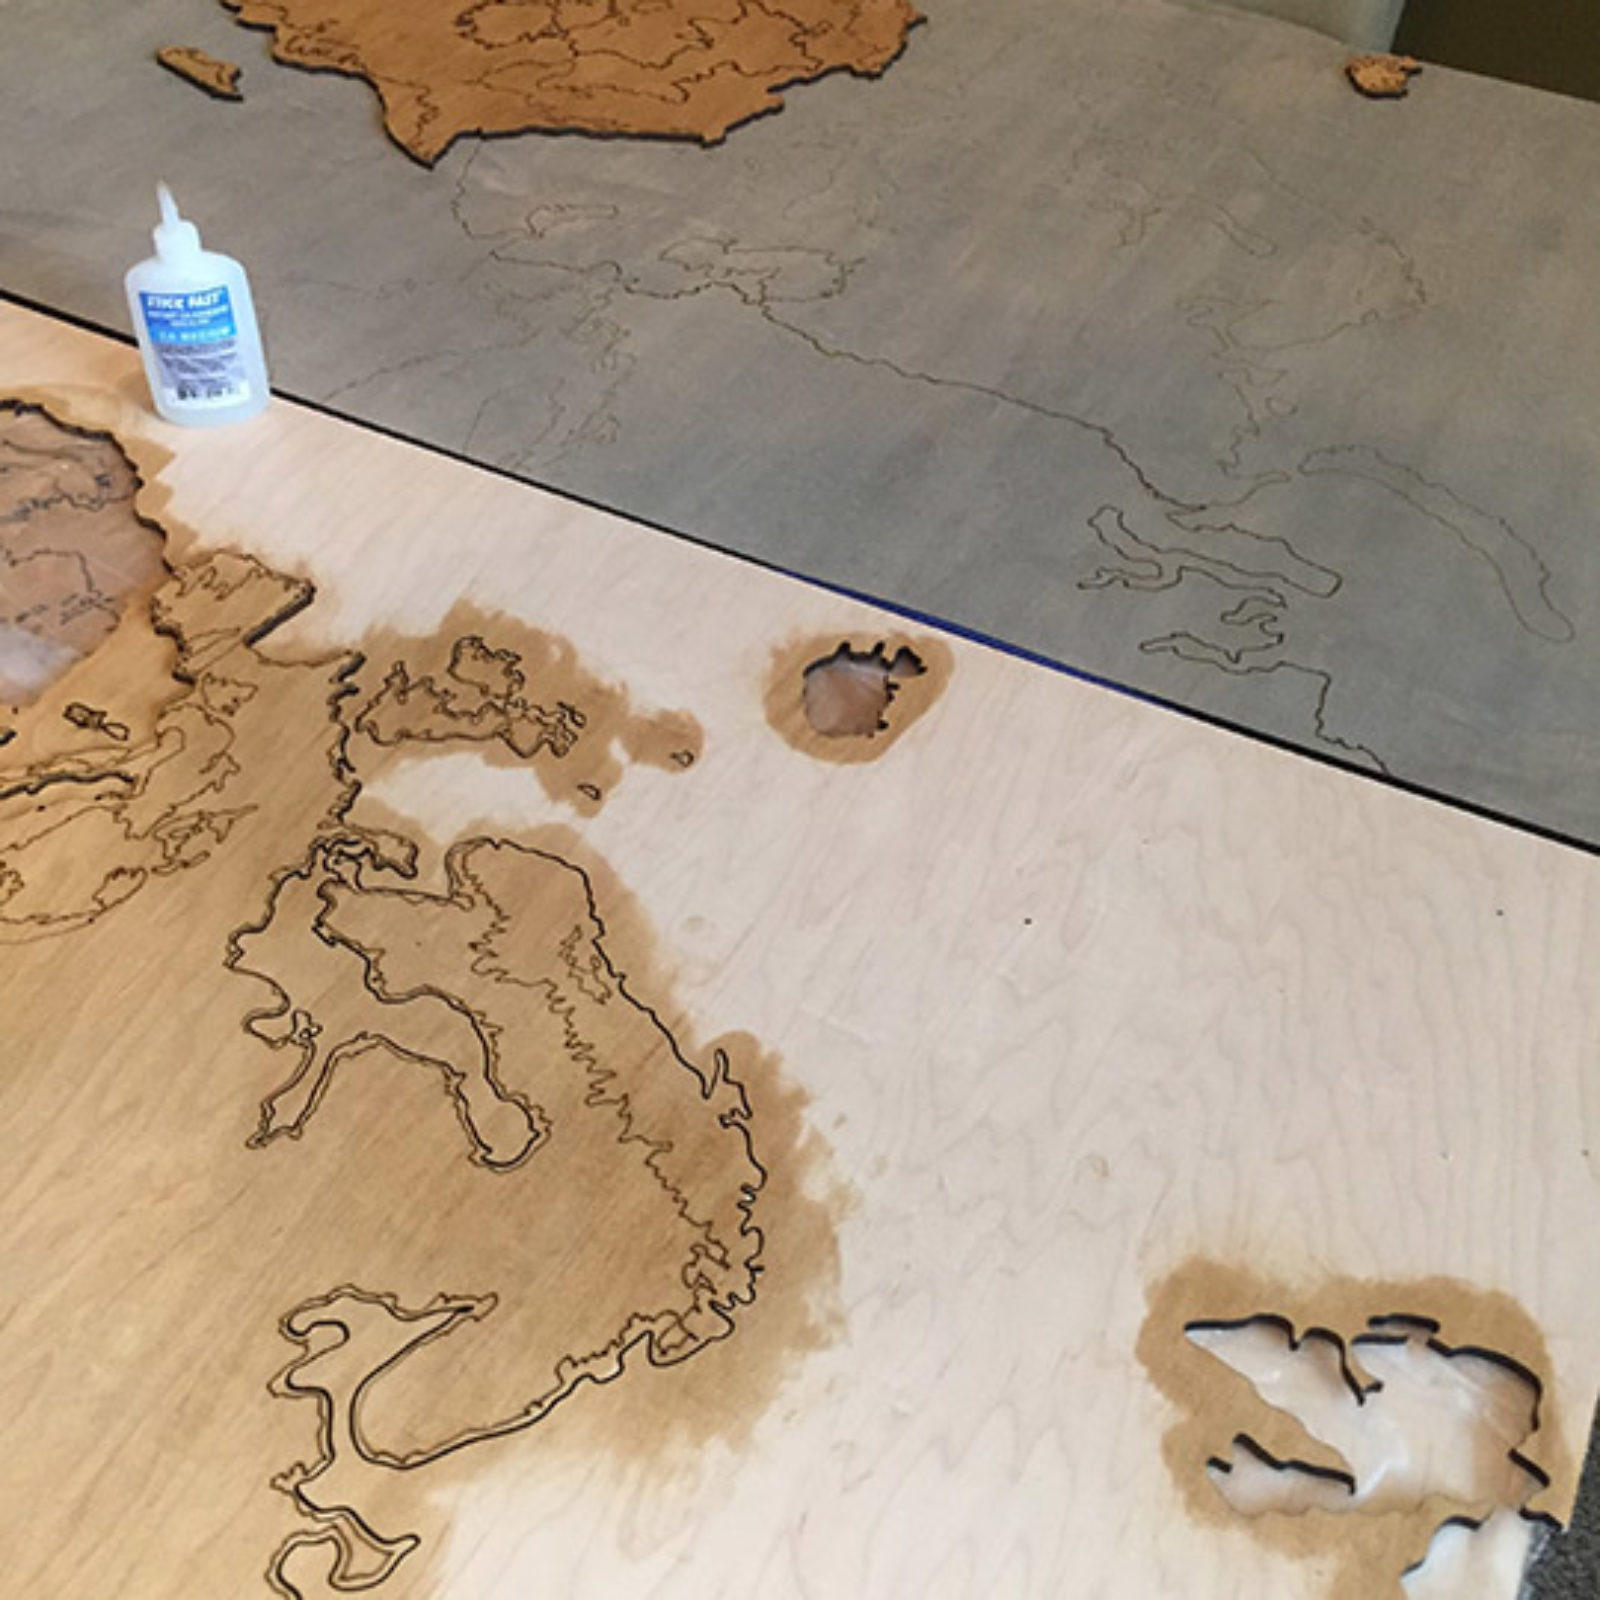
Gluing on Layer 2
Step 5: Putting the Puzzle Together!
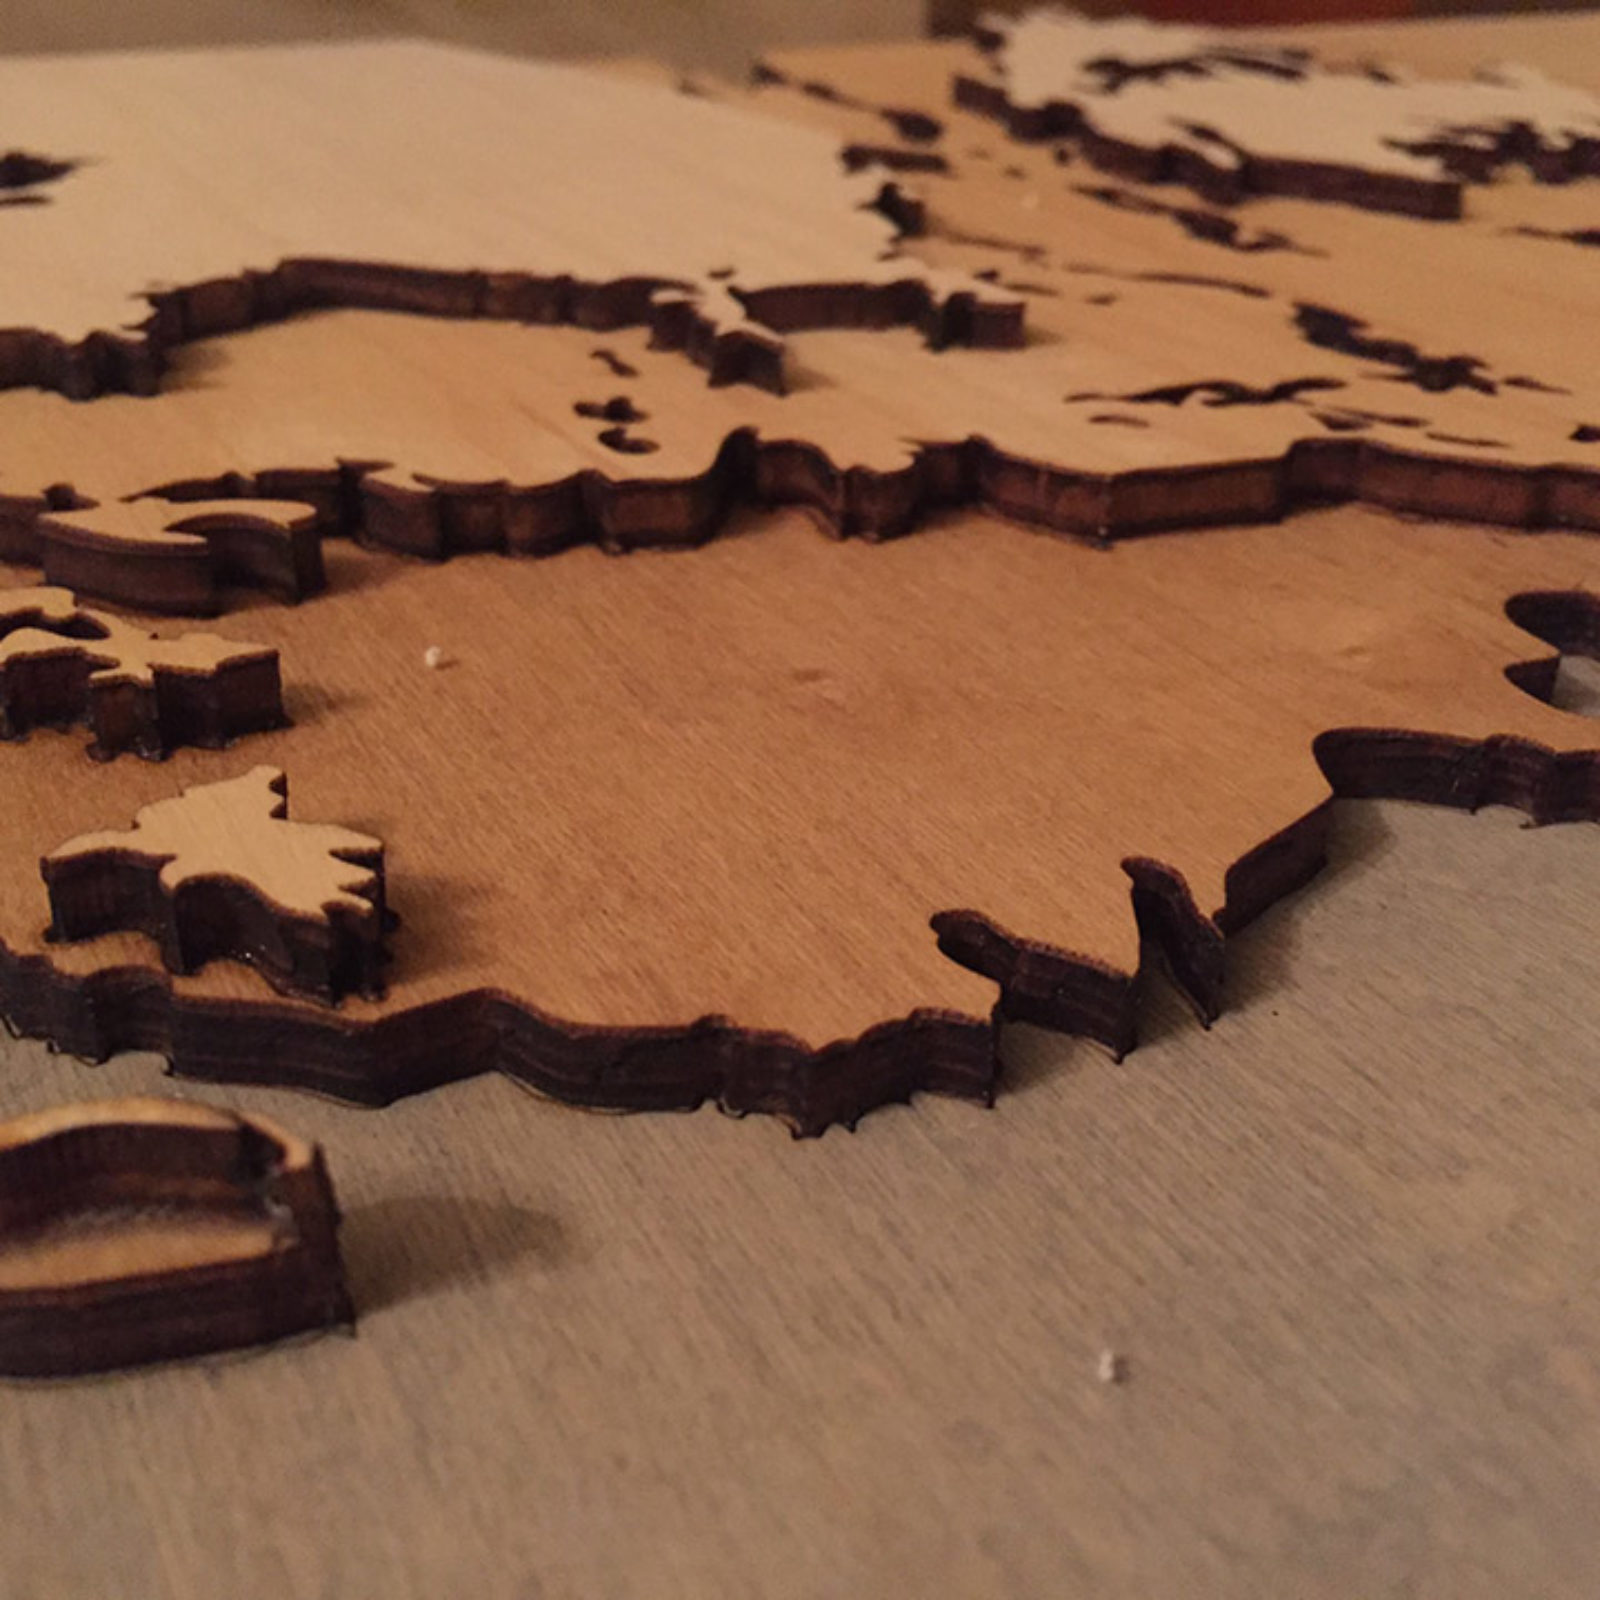
This part takes the most patience. Start with the first layer of ocean laid flat on the table, and one at a time, remove the layer 2 pieces from the blue tape, apply CA glue to it on the back, and press it down carefully within the borders outlined on the layer below. Give it a few seconds to start the set of the glue, and move on to the next piece.
This takes a LONG TIME.
Be patient and don’t rush the small pieces. You will be tempted to just put the tiny islands wherever.
Just keep removing one piece at a time (or a small grouping) so you don’t lose track of where they go or what’s already been glued. I put one in the wrong place and spent 30 minutes carefully chiseling up the piece because the glue had already set. It’s not fun. Don’t do this.
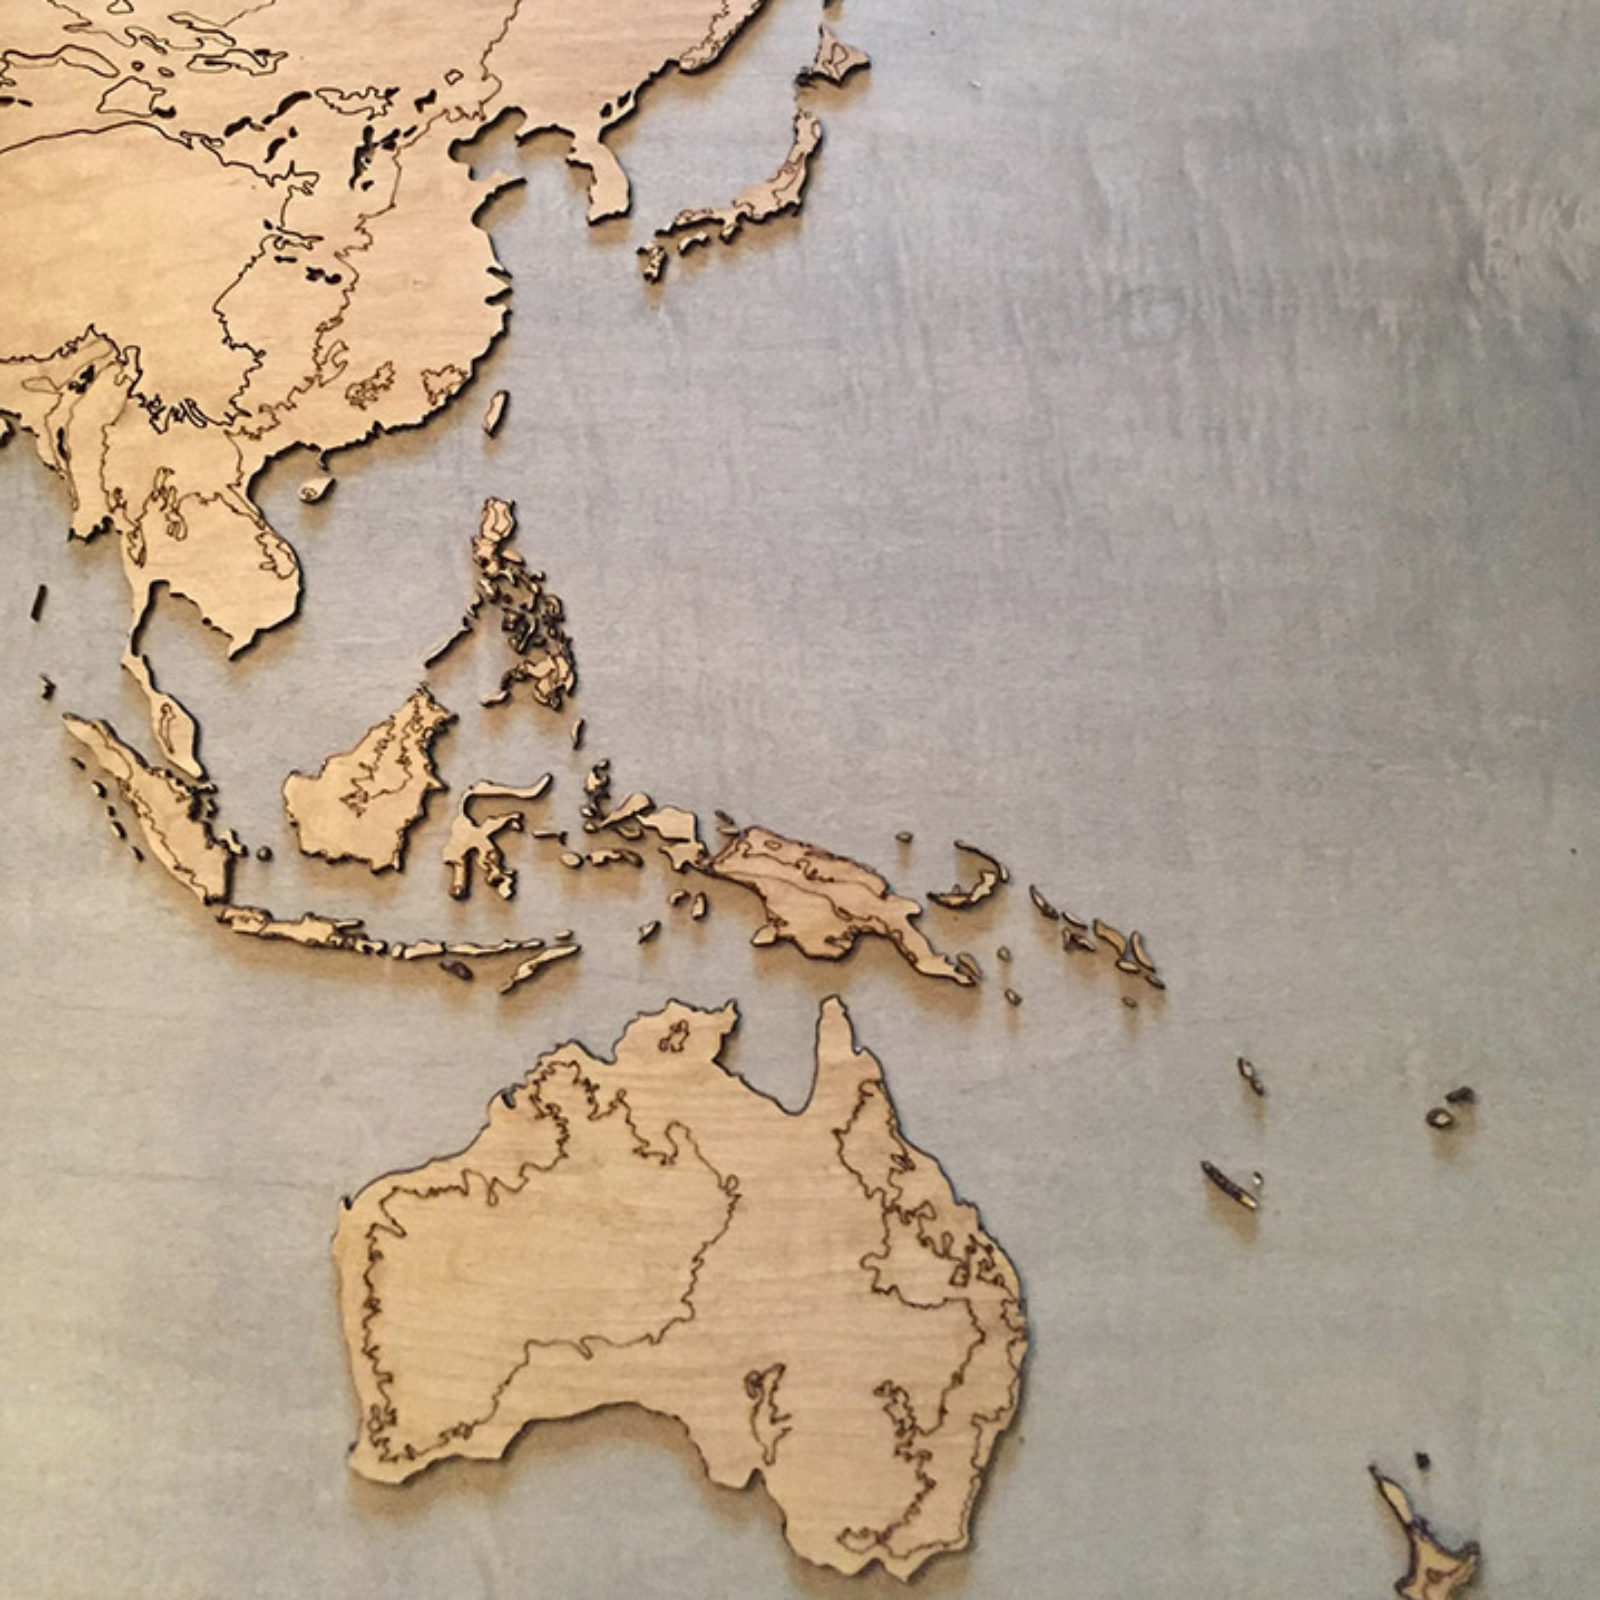
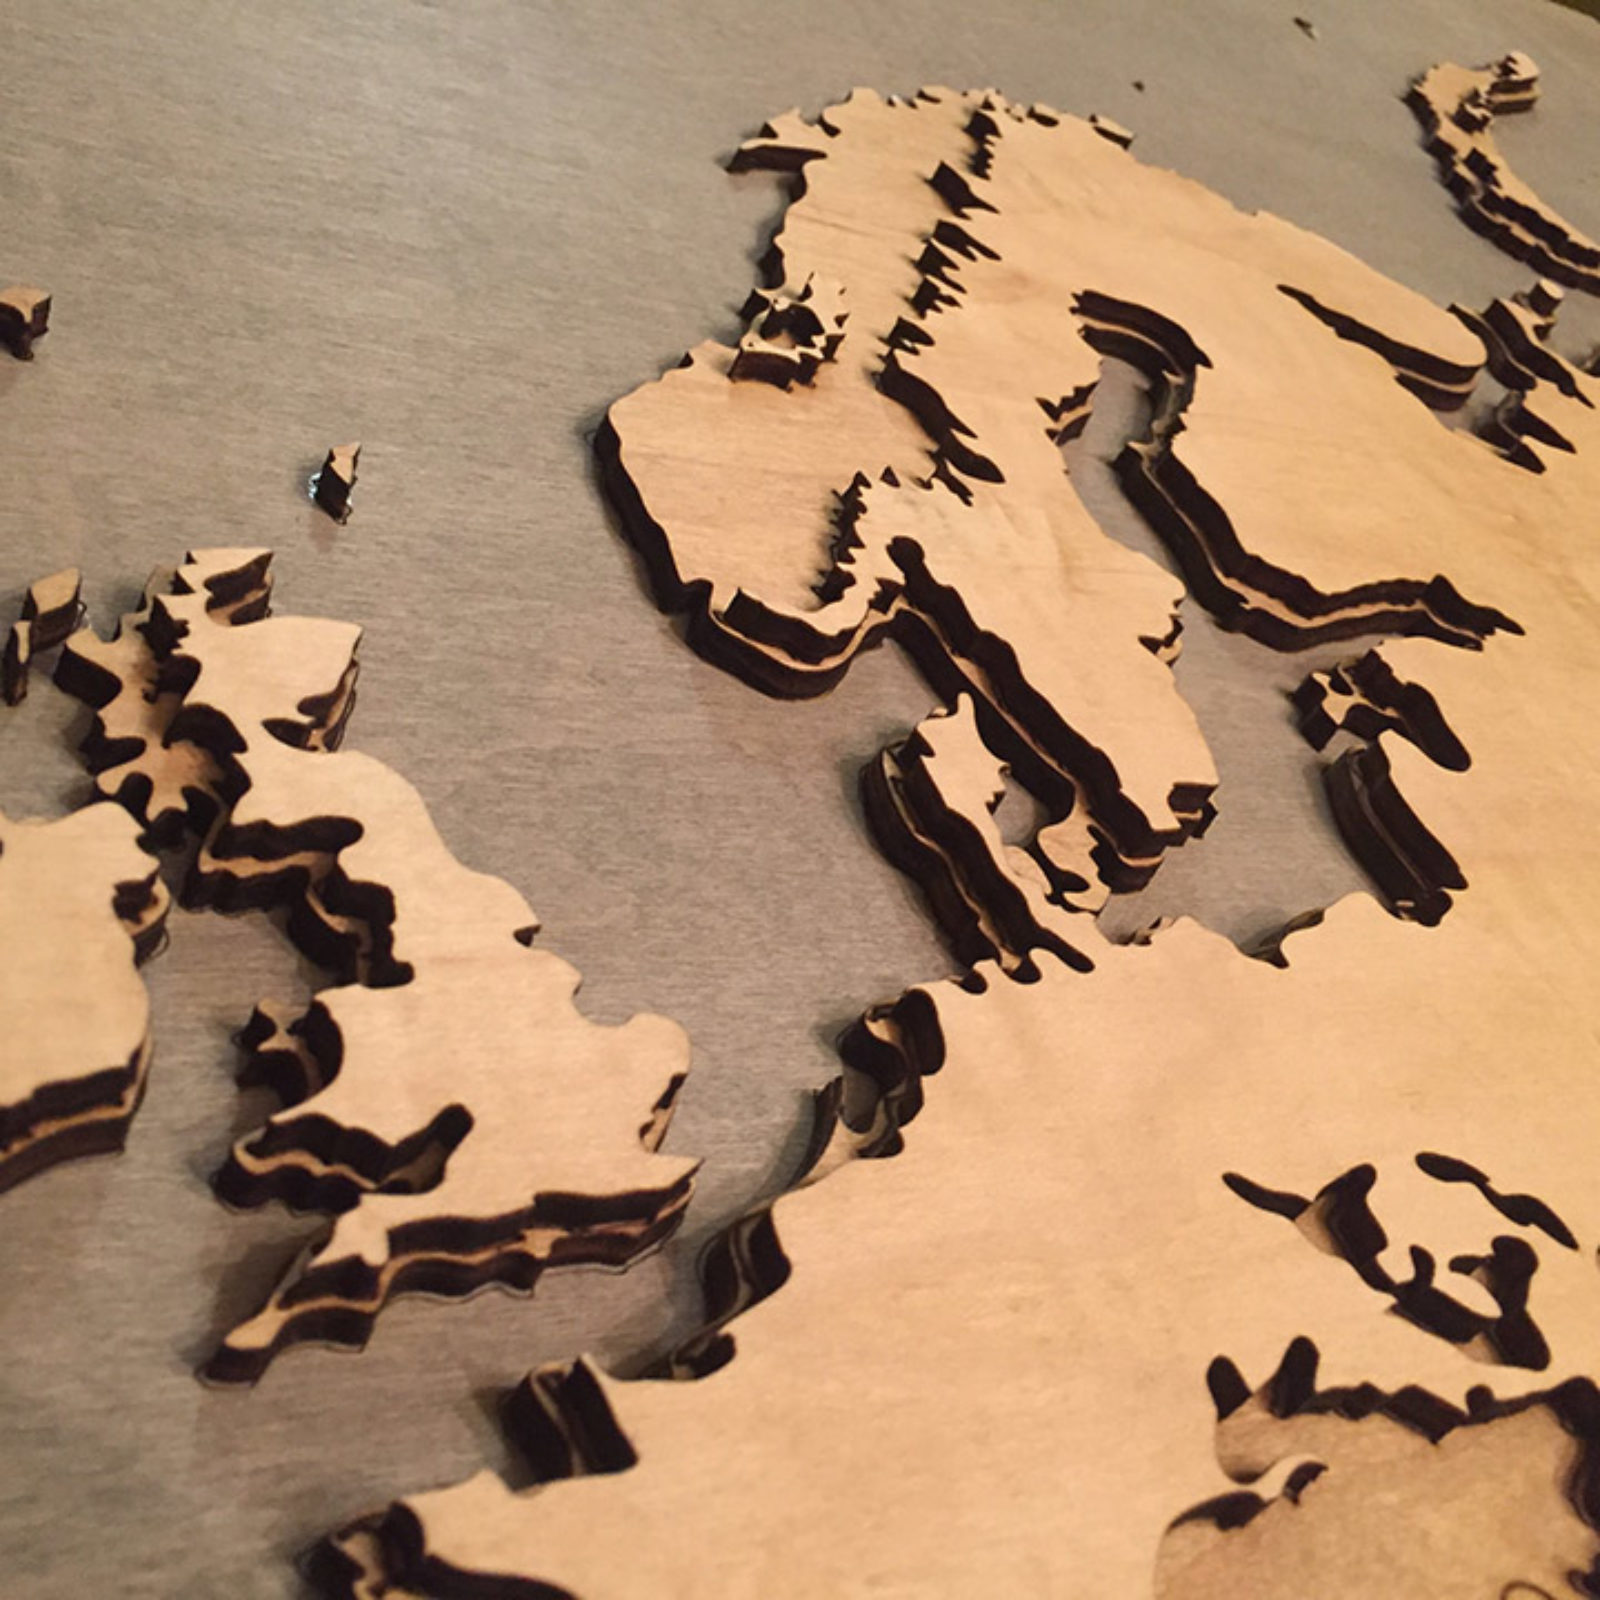
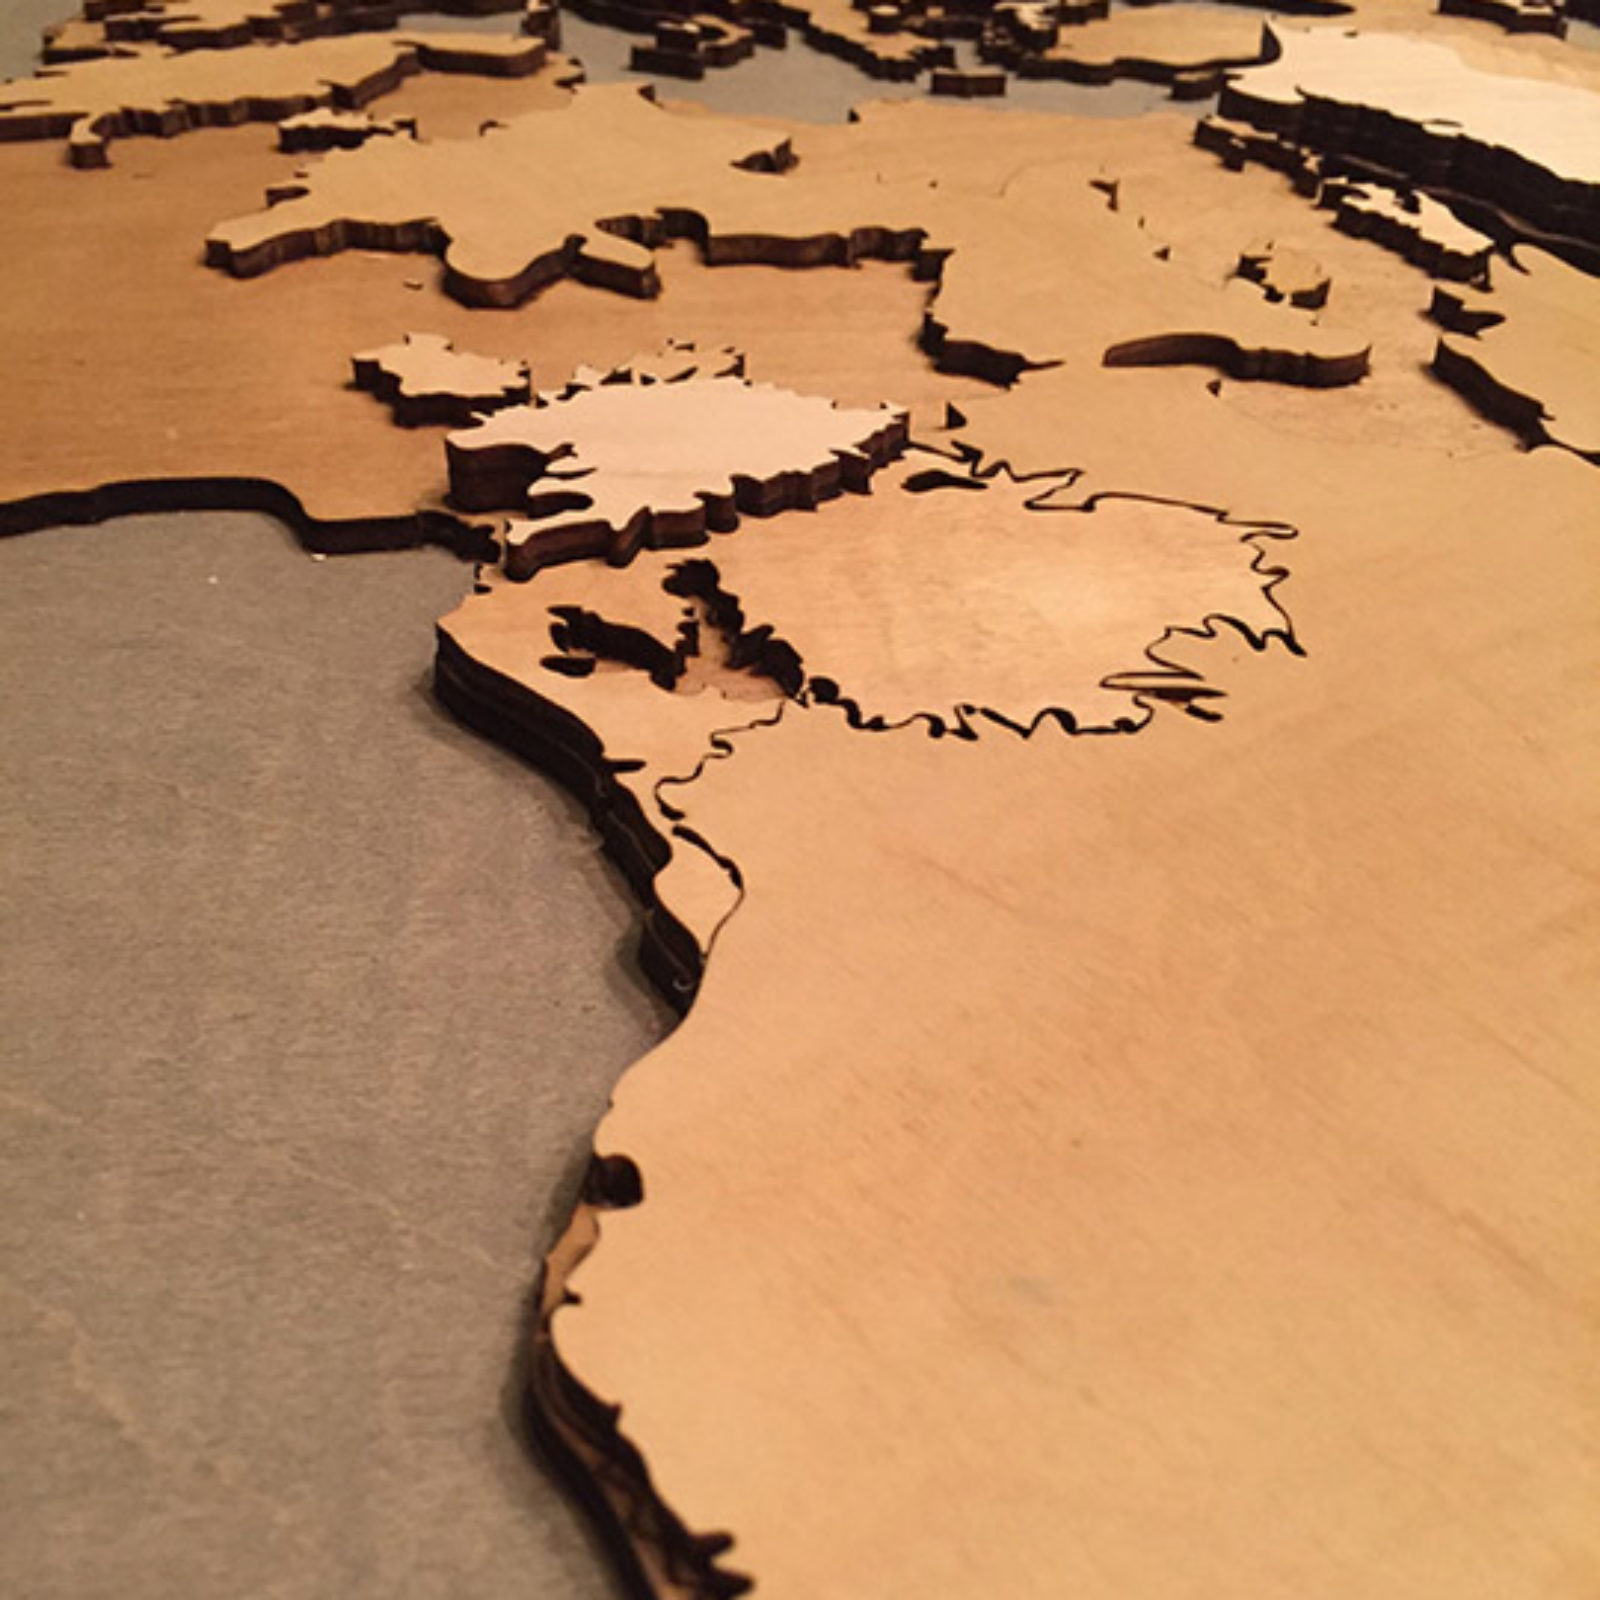
Also, pro tip, get familiar with a map of the world and learn where the mountains are! It’s incredibly easy to flip yourself around and put the low spots where the mountains should be. Make sure you put the top layer pieces where there are actually the highest points of the mountains. The Andes, the Himalayas, the Rocky Mountains, the Great Dividing Range, and the Southern Great Escarpment are ones you should watch out for.
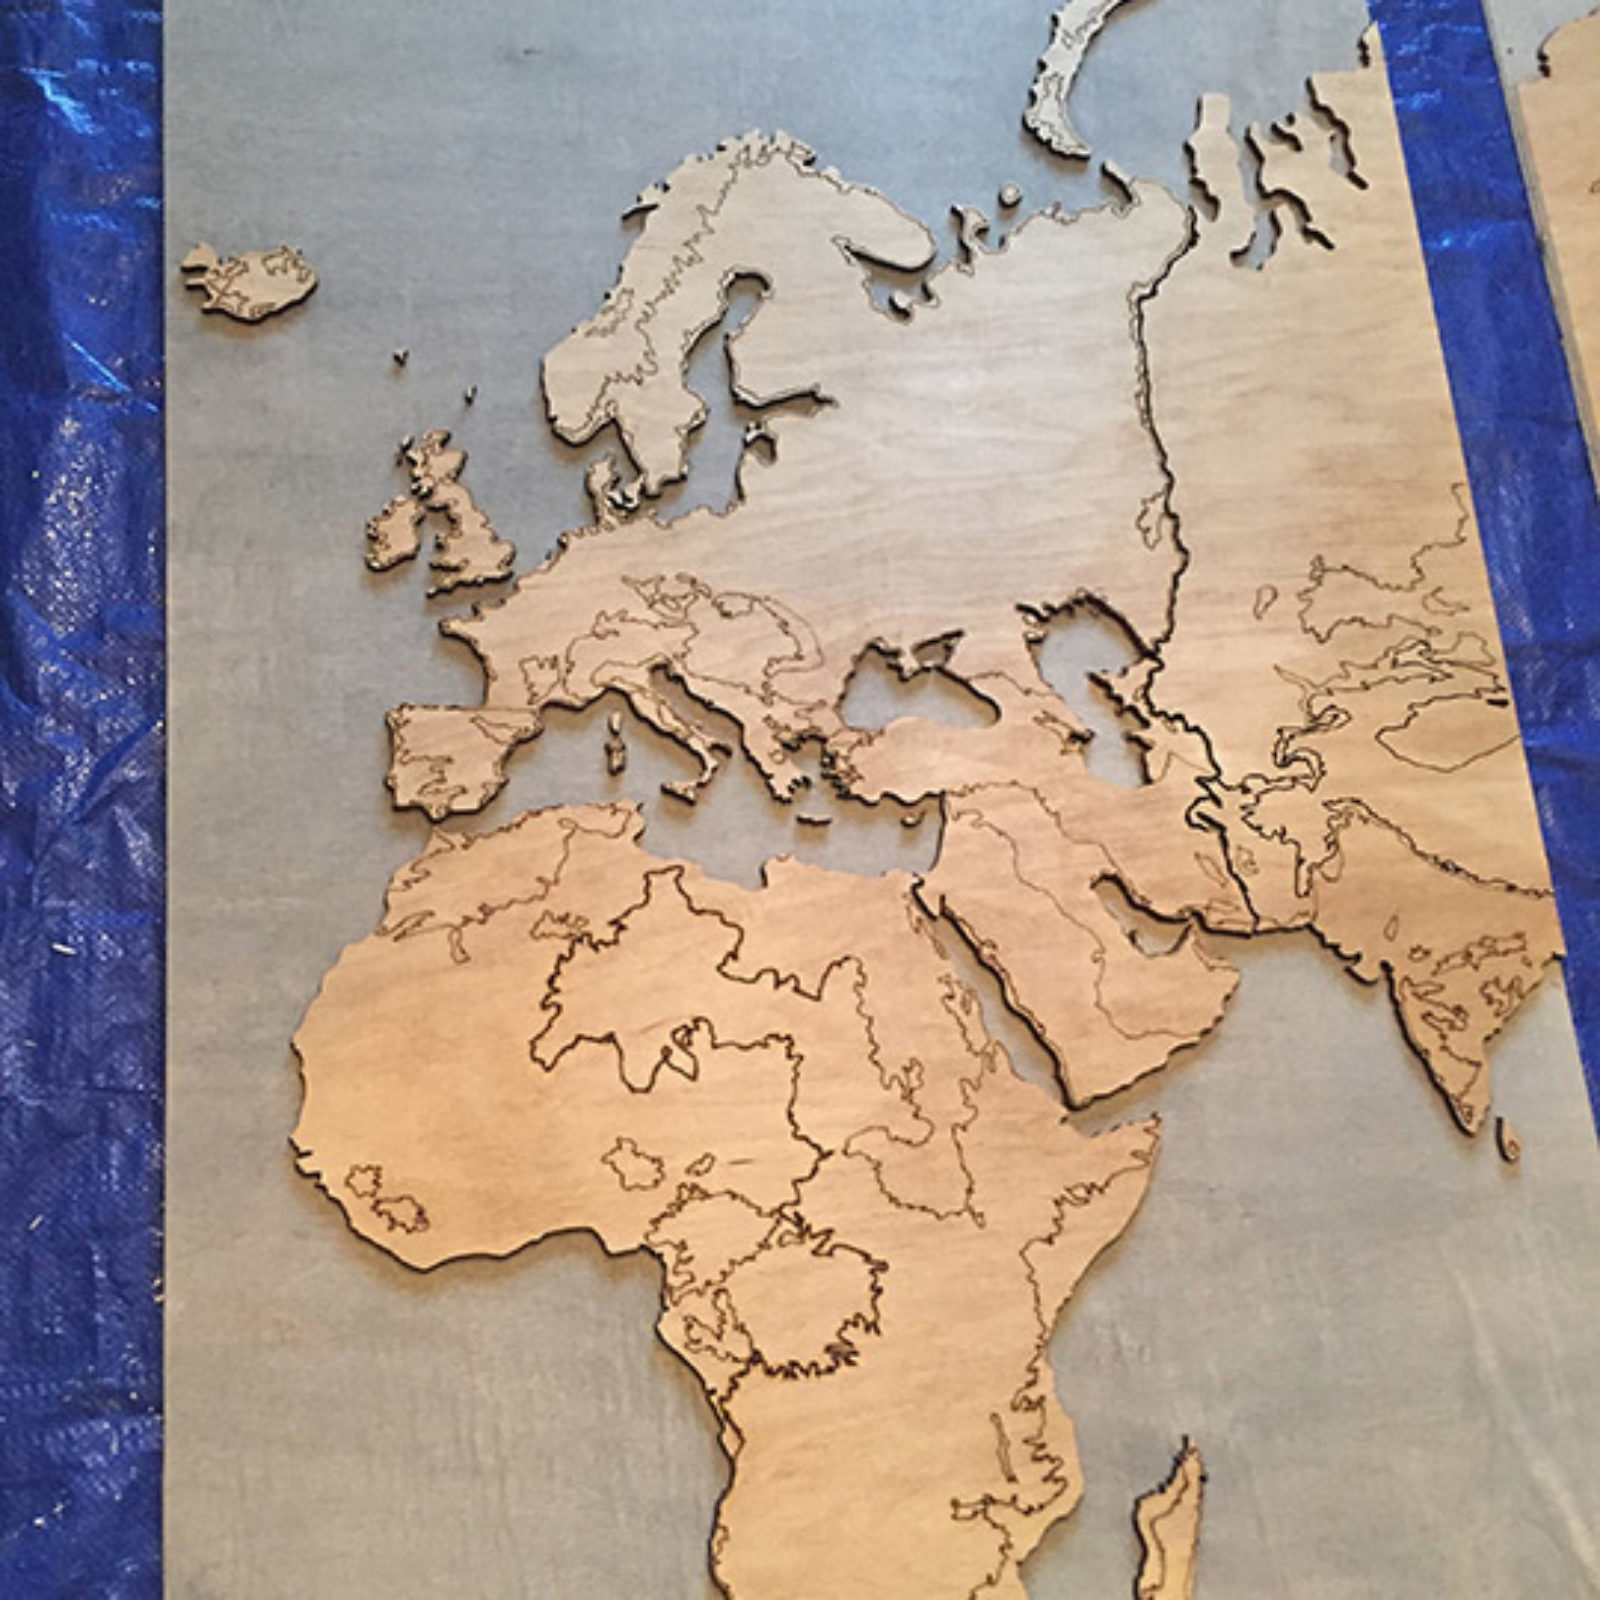
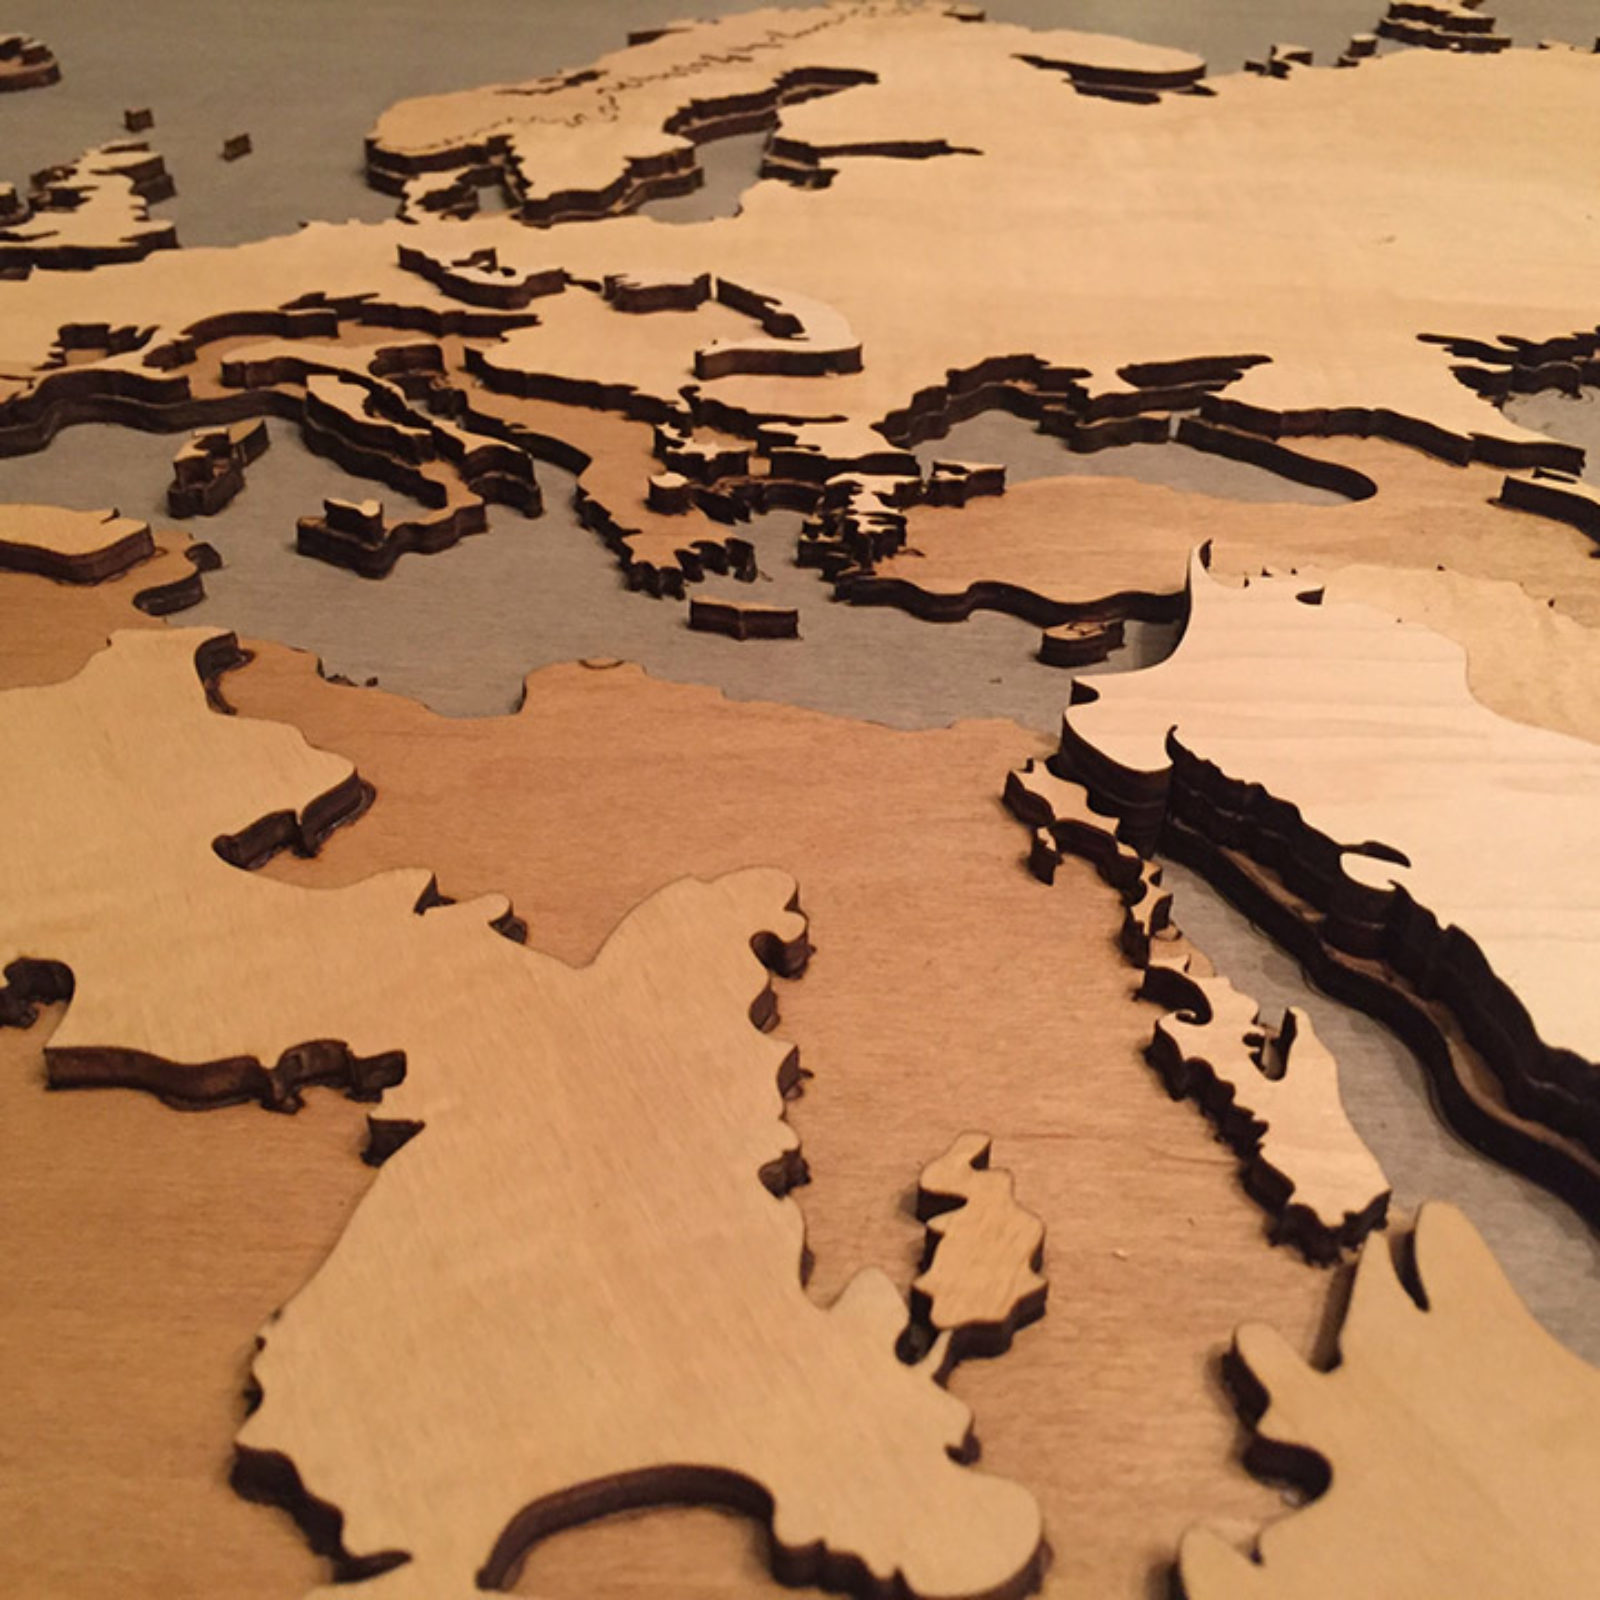
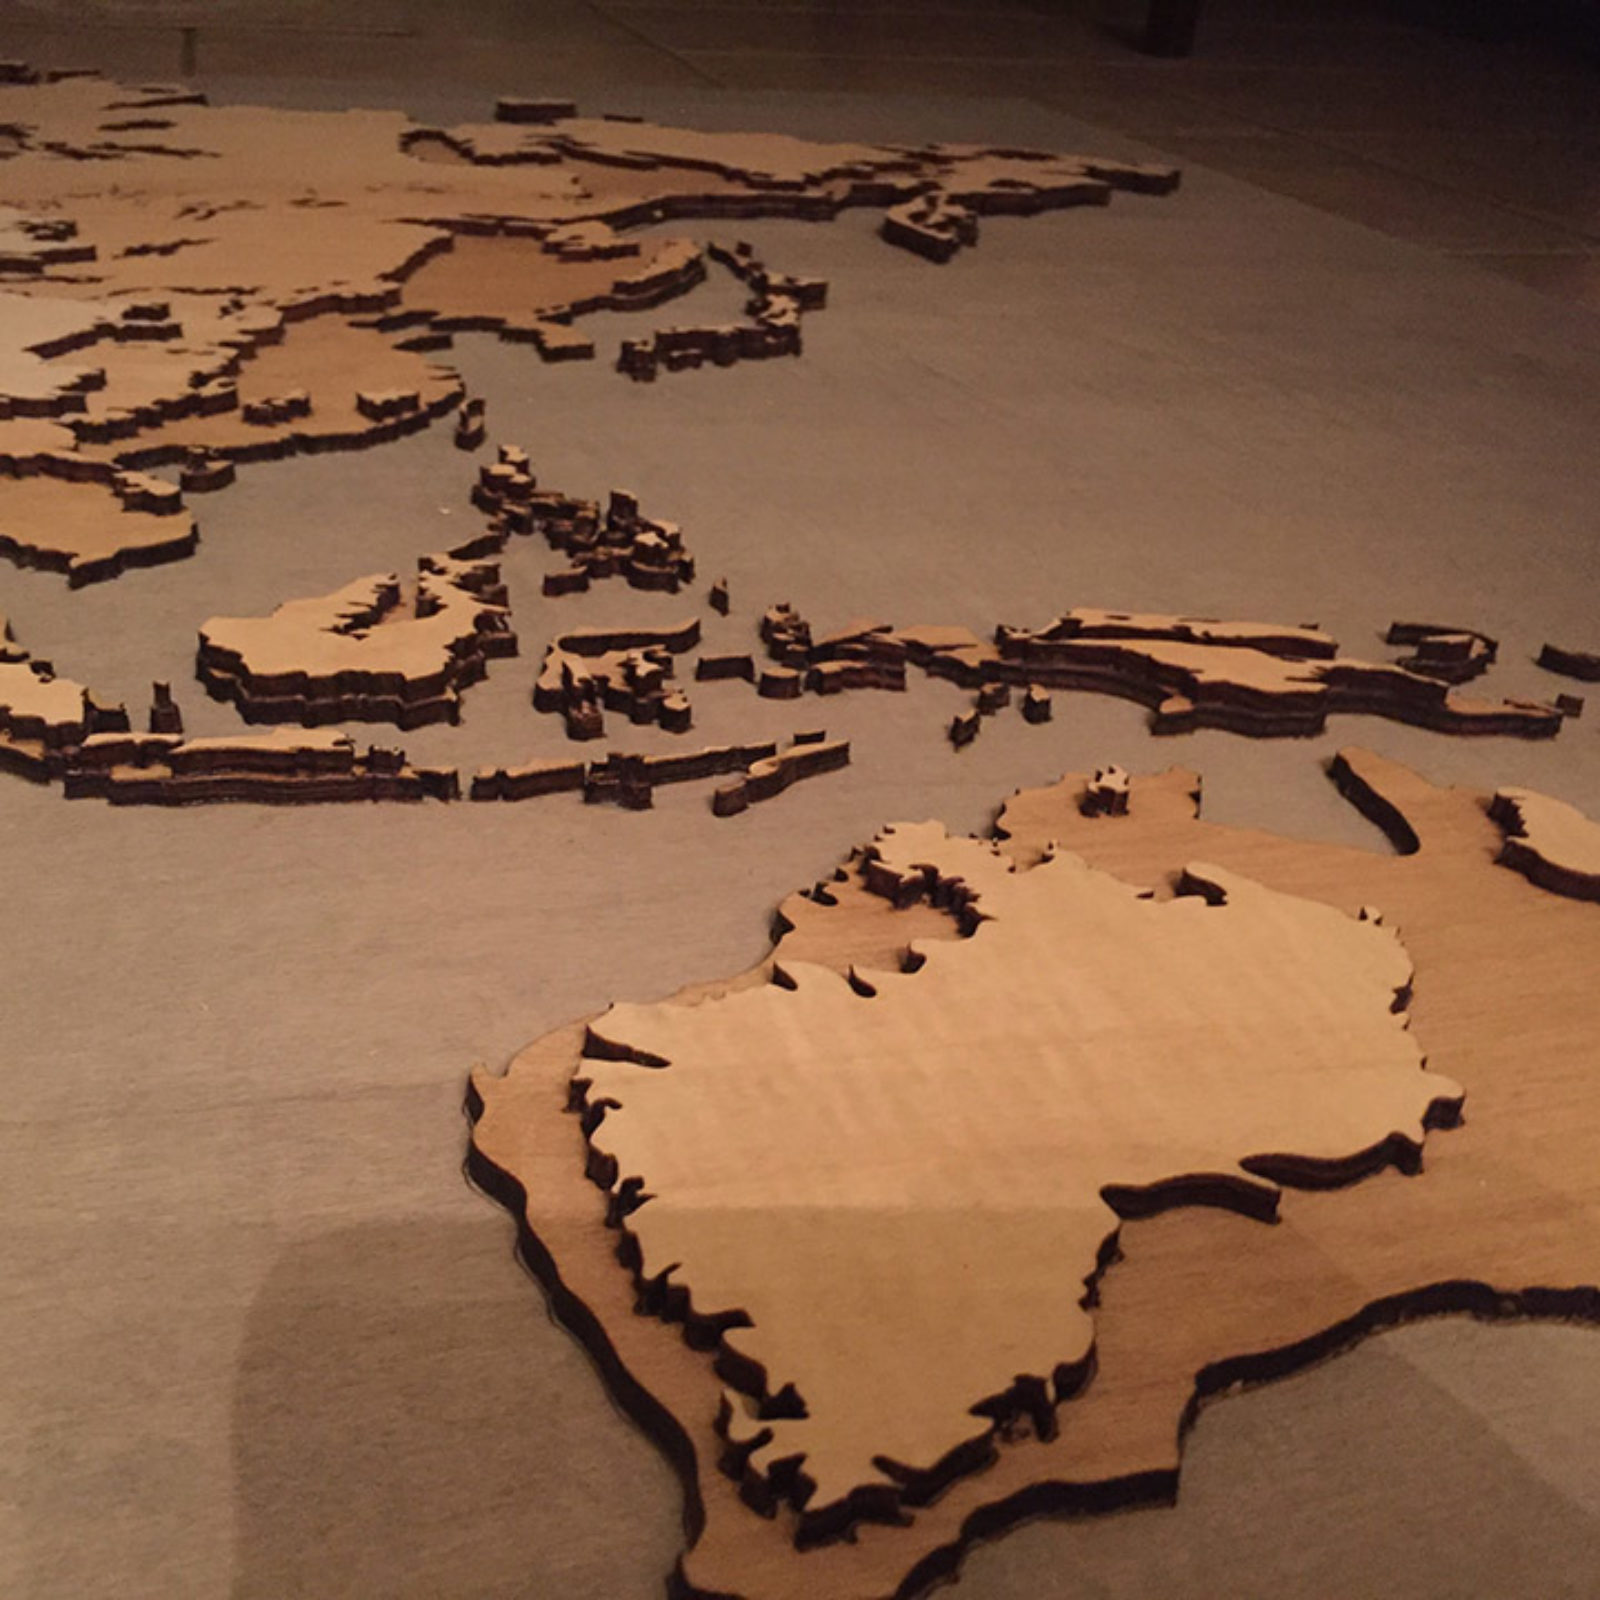
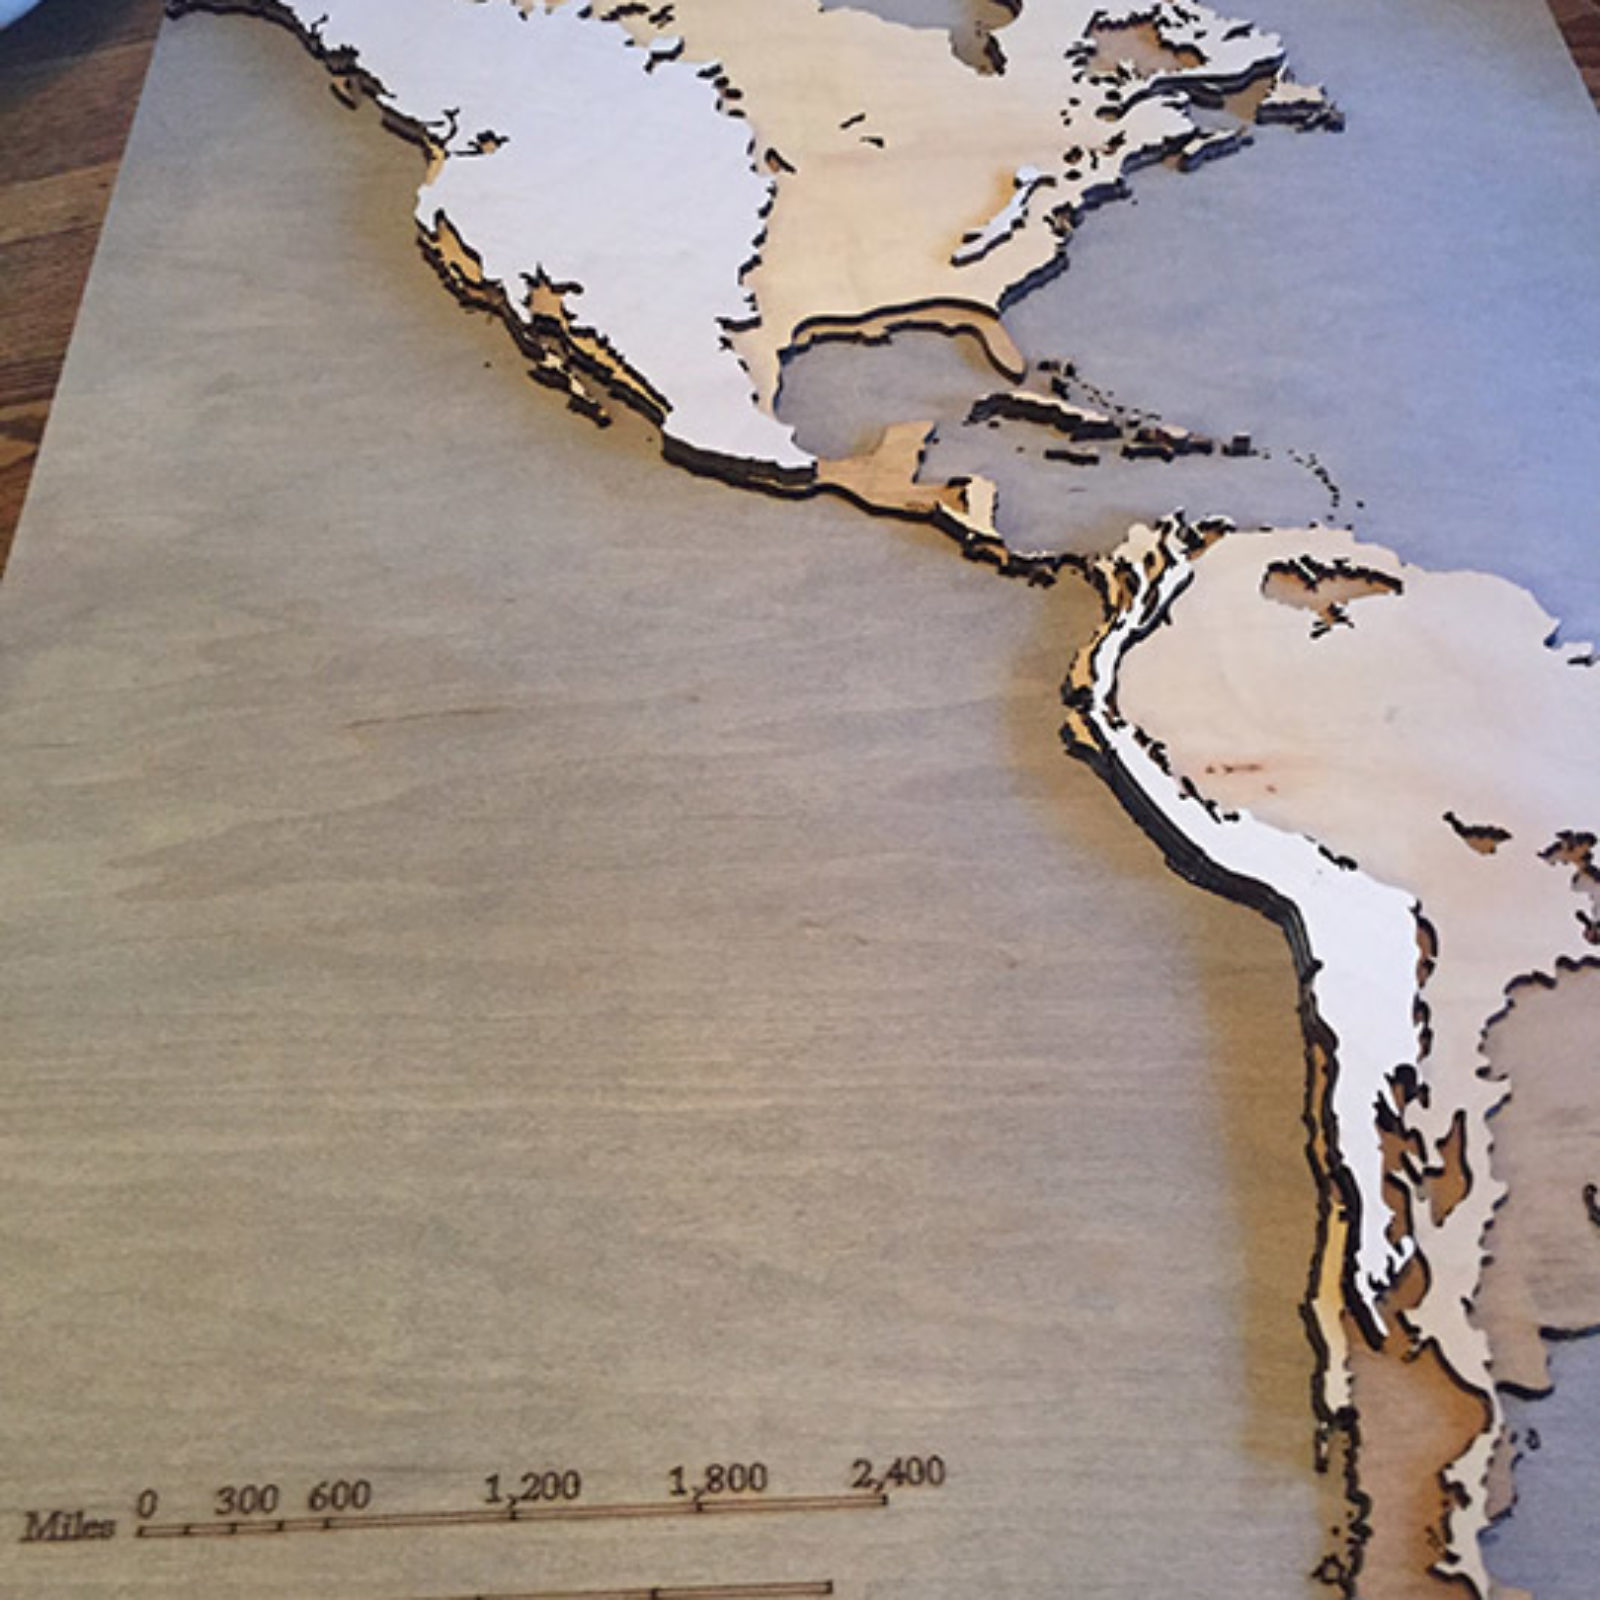
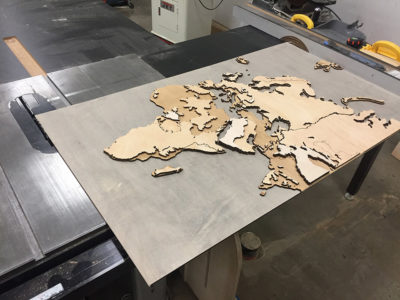
I’m going to insert a slide show of assembly pictures here to give you an idea of how it looks at various stages.

Step 6: Final sanding and shaping
Now we want to get all the panels the exact same size. I used a table saw to just slightly trim each edge of the panels so each panel is exactly the same.
After that, lightly sand around the edges to remove any wood chips and burrs left in the edges. I used 400 grit sandpaper to polish up and soften the wood. Just be careful not to remove any stain.
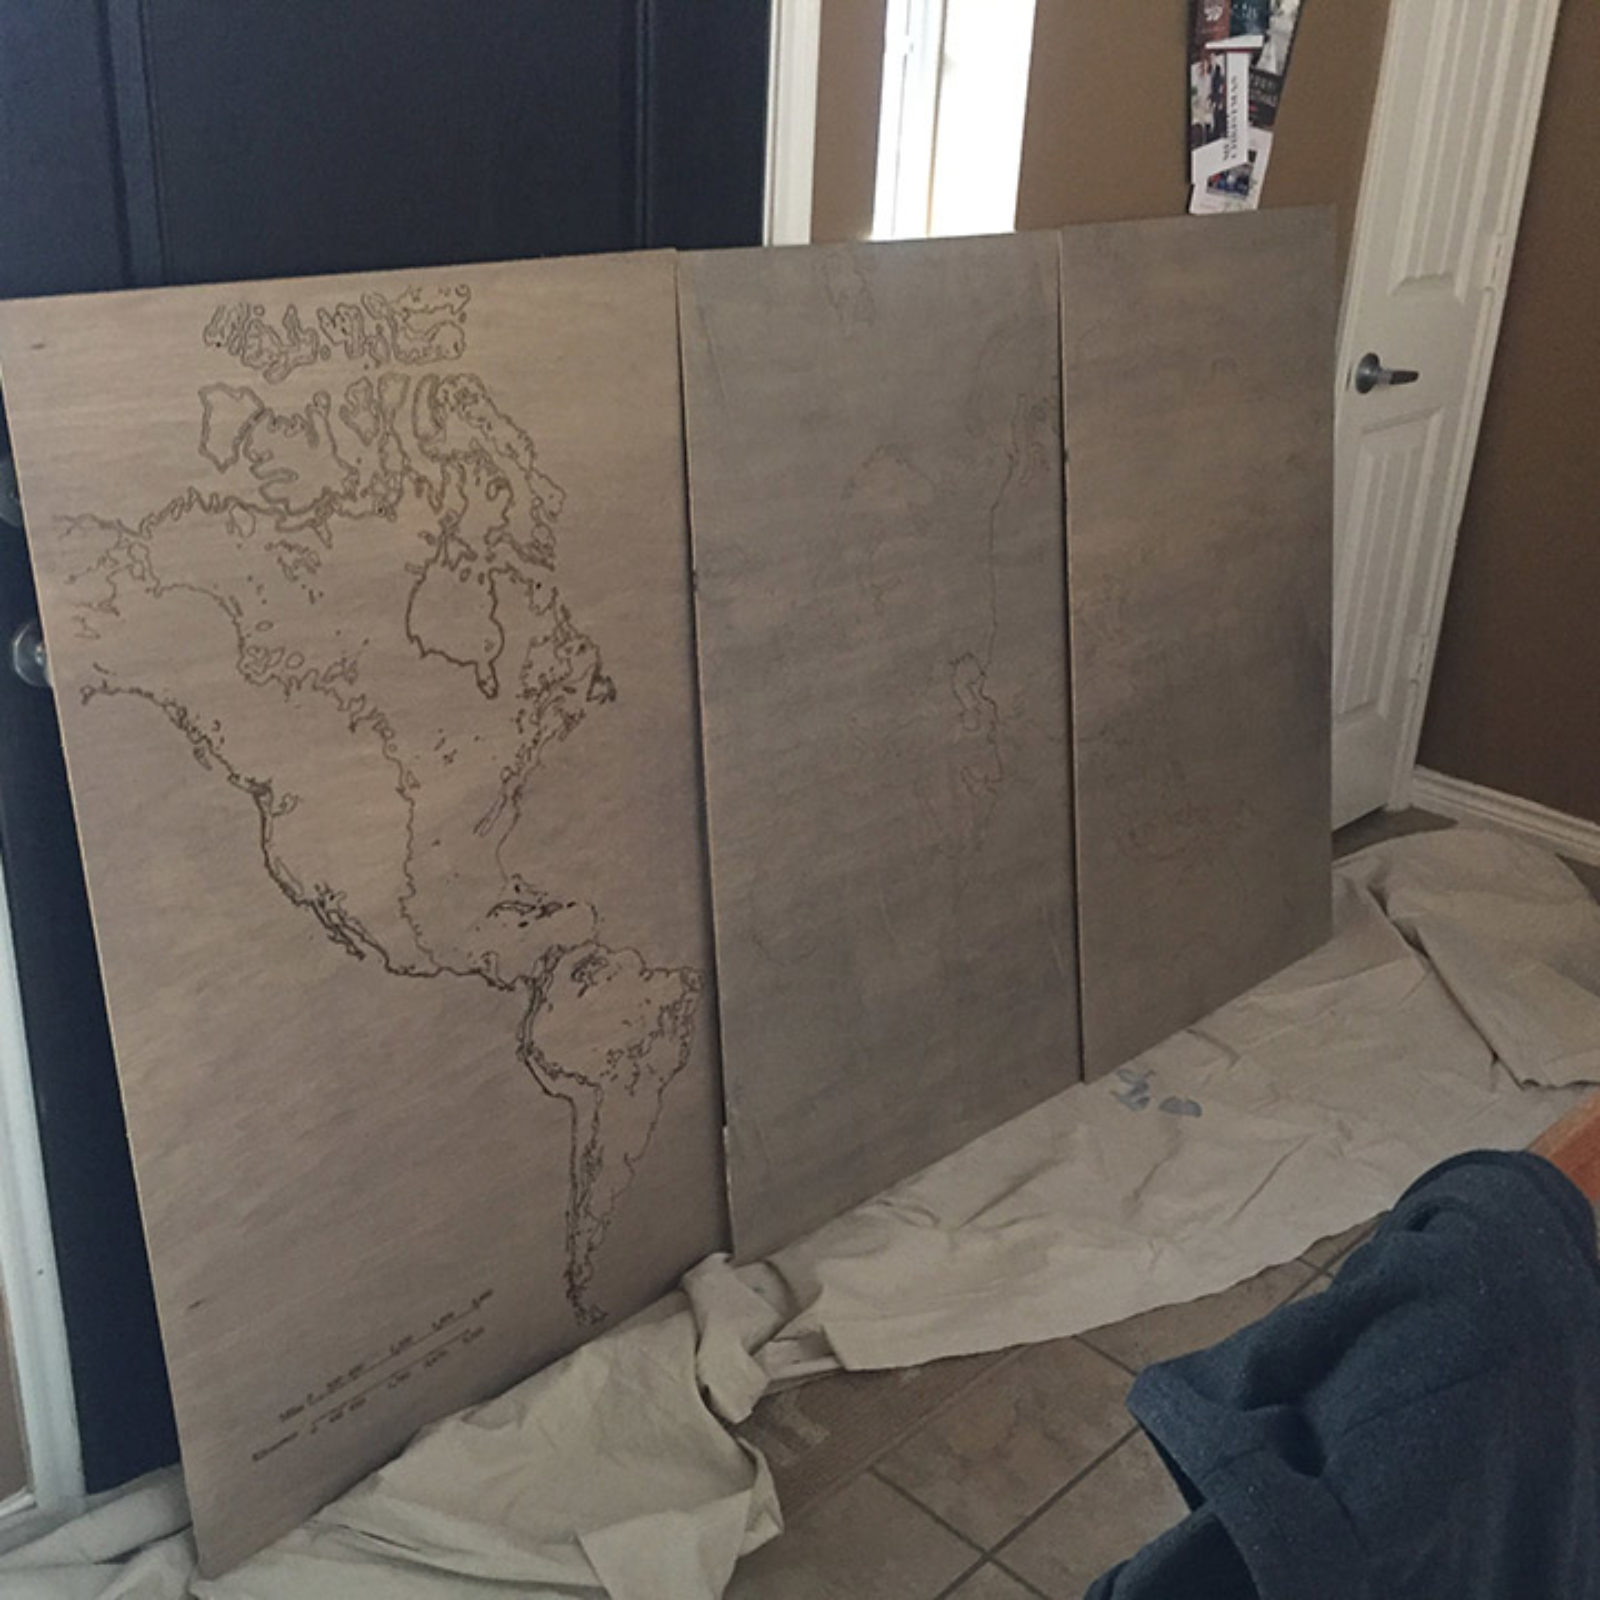
Shaping to the final size.

The final three pieces side by side.
Step 7: Mounting to a wall
The final step! The mounting system I came up with was designed for future maneuverability. Remember, I also had a number of small city maps that are going to go in front of and in between the world map, and they might change in the future, so I wanted to have some flexibility.
So I ripped 1″ strips out of a 2×10 board, and then cut those strips down the middle at 45°, creating a french cleat.
I mounted 3 – 8′ strips down the wall, 18″ apart, and started with the center Europe/Africa map. I centered that on the wall horizontally and then vertically, and then added three french cleats to the back of that panel while my helpers held the panel exactly in place. Then we held the panel to the wall for 1 minute while waiting for the CA glue to dry.
We repeated the process for each panel. Each was placed vertically on the wall to match the first one, and then I glued strips and slipped them in between the panel and the wall and pressed them on for 1 minute. The panels can glide freely left and right, so the crucial part is getting them level vertically with each other.
I then spaced them out about 5″ from each other and would slip in the city maps where they fit, attaching cleats to the back of those as well. Every single part of this project can be lifted up and off of the wall (but they are fairly heavy) and so the whole thing can be adjusted easily.
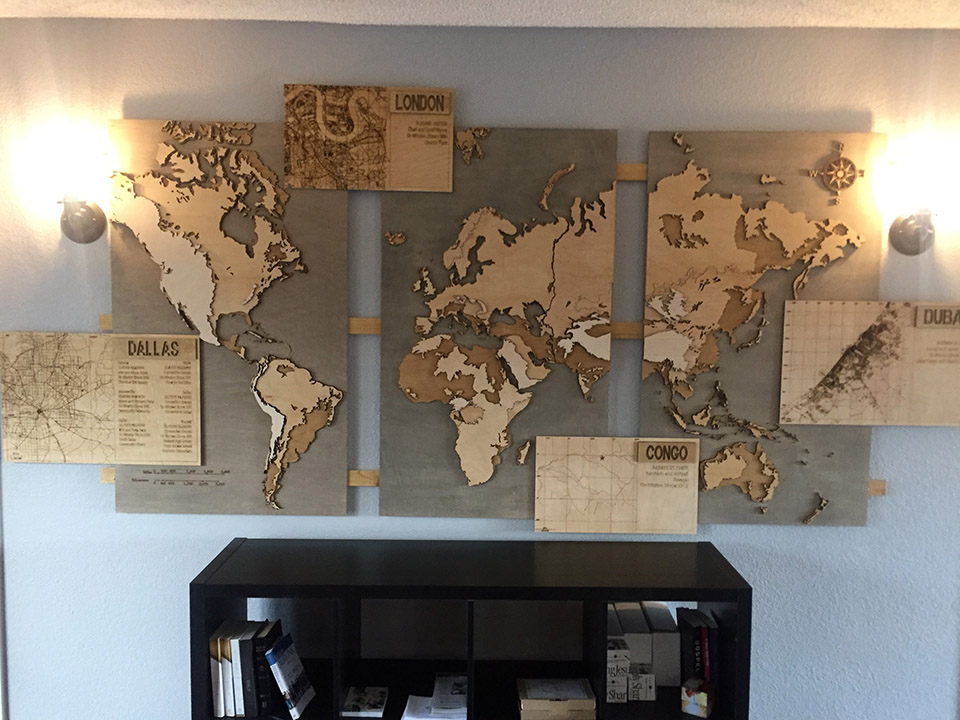
Final Mounting with lights and bookcase in front
Get the Full Plans on Patreon!
This project has a full schematic and set of plans over on our Patreon page! Follow the link to download the whole set.
Get the Plans
Comments
I can’t wait to see this in person…but it is amazing! The hours you put into it!!! Wow! So very impressive! Great job Sam!