
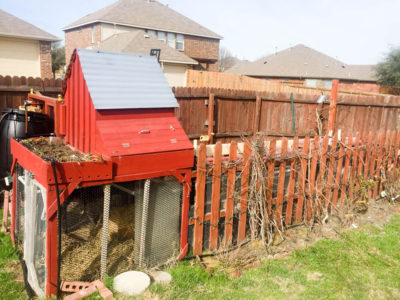
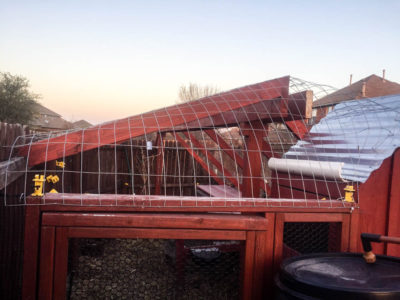
Our pen mid-winter : The bird netting above the pen had been doing a poor job of keeping out a predator, so it was taken down for this photo.
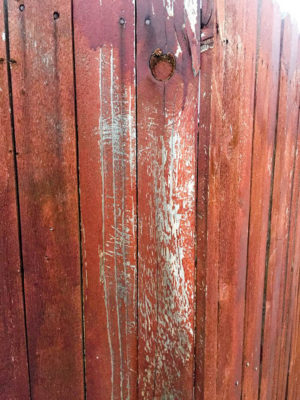
The repeated attempts of the predator to climb our fence from the driveway.
Last Christmas, my wife and I had a two week long run in with a predator. Still unsure if it was a Possum, Raccoon, or Fox, but either way, I was getting more and more frustrating to losing chickens to it. We’ve had run in’s in the past with predators, usually during the winter, and we’d lost a chicken or two, but this time we lost 5 full grown, laying hens, and 5 rabbits.
Our perpetrator managed to get over a 6 foot wood fence, through a gap somewhere in the protective netting, and around the electric fence line running the perimeter of the pen. He would then grab a hen from in the coop, pull it down off the roost, back across the pen, and then up and over the fence again, leaving nothing but a trail of feathers come morning time.
So I decided that small, half measures wouldn’t cut it and began a plan to completely protect our animals.
Let me start by saying this is less of a “how-to” and more of a “what I did” kind of post, because the implementation for this was so site specific that creating a detailed build plan for this project just wouldn’t make sense. There’s likely no one else who has this same setup so if you need to build something similar, I am going to present the basic ideas of what was done, not an exact measured plan.
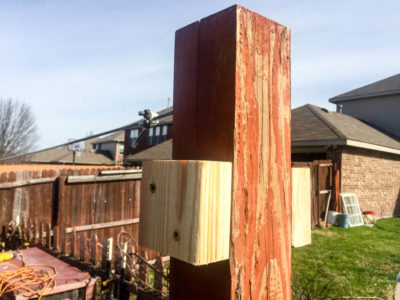
To hold the weight of the long support beam (16′), small blocks were cut and screwed to vertical 4×4 posts buried 2′ into the ground.
My wife and I talked about what it would take to put a full roof over the pen, with thick wiring and a pergola style. It needed to have enough room to stand comfortably inside and also be short enough that it wasn’t an eyesore over the fence line for the neighbors. So here’s what I used:
Required Parts
- 10 – 2x4x8′ pine studs
- 6 – 2x6x8′ pine beams
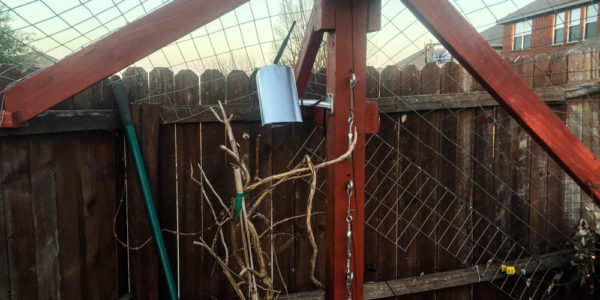
I started with the idea to put a large beam running lengthwise down the enclosure, supported by two thick columns, and then struts would attach from the central beam down to the back 6′ fence and the front 4′ picket fence.
This central beam was made from 6 – 2×6 beams, each 8′ long. To make a long, strong 16′ beam, place them together like so.
Once screwed together, you’ll likely need a friend to help you lift this thing into place, because it’s very heavy. Slide each end down over the top of the support posts and onto the side blocks, then screw through the beam into the supports.
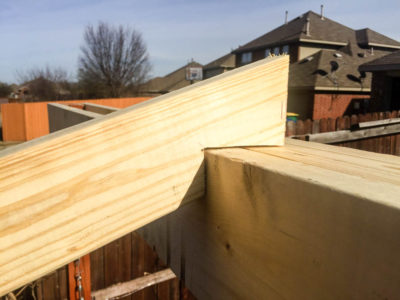
The first rafter, with a notch cut out so it sits on top of the support beam.
Next, we need to cut “rafters” to hold the wire. The particular wire that I bought was 2″x4″ cattle panel. 4′ wide. 100′ long roll. Tractor Supply had a deal doing for that specific size of a roll for about $40, but there are tons of options. Since my wire panels were 4′ wide, the center distance on my rafters needed to be 4′ off center. I started with the first rafter just under 4′ from the end of the fence and laid it across where I wanted it to span. Because my fence isn’t square, or even relatively well built, each rafter had to be measured, cut, and put into its specific place.
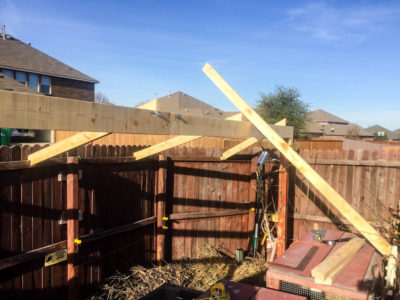
The rafters start coming into place.
This part is the reason I can’t really make a definitive plan to help you guys out with a similar build. It’s so custom to the space and the surrounding fence that it only makes sense to show you what I did.
Once the rafters are up, I cut the extra bits off to make them match up nicely at the top and then realized it would be much easier to paint this thing BEFORE putting up the wire.
I put two thick coats of a 20 year fence stain on the boards. I bought the most expensive fence stain I could get for 2 reasons:
- It’s not that much surface area to cover so a pint covered it twice, plus a little extra
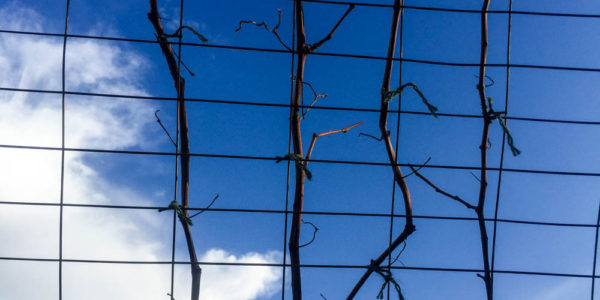
- I knew that I would never want to repaint this again, as long as it stands, because of the wire and because I’m going to be growing grape and raspberry vines up and over the top of this thing. If I have to cut them back to paint, I’ll lose valuable time spent cultivating those vines, perhaps years of growth.
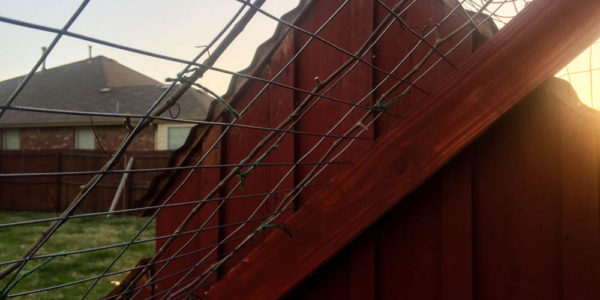
The first and last sections were the hardest to setup because of the irregular shape we needed to cover. Twist, pull, and bend what you have to to make it work.
Now we begin to add the wire on the top.
We made our lives easier by spacing the rafters on center 4′, so the wire fits perfectly side to side, so we cut 16′ lengths for each front to back section and just started at the end and began nailing down as we went over the top and back down the other side.
The most crucial part to this step is making sure the fence is straight all the way across, because being off a tiny bit at the beginning means the other side wont actually overlap the rafters and youll have to pull it up and start again. Its much easier to get someone to help you with this.
Here are some pictures of the wire going up on top:
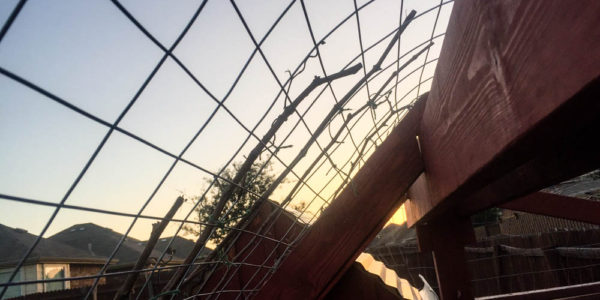
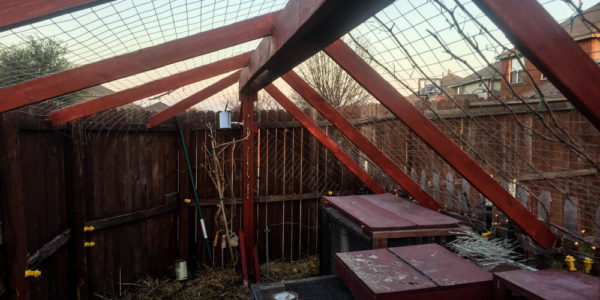
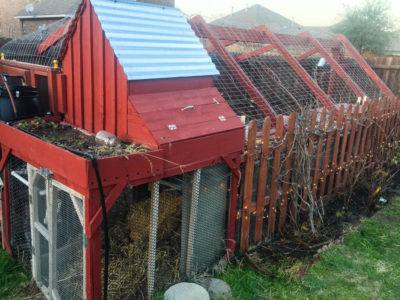
Final view on the outside
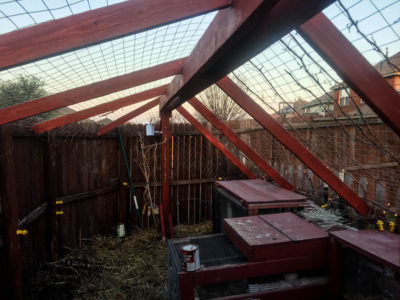
View on the Inside
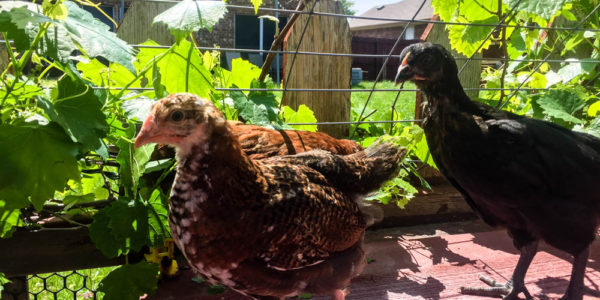
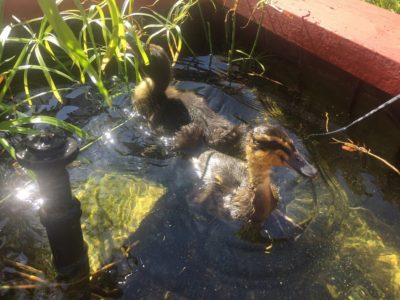
So there you go! The completed predator proof cage. So far, we’ve had no issues with predators getting in and grabbing animals, and it’s been 4 months! We’ve got a new flock of 8 chicks, 2 ducks, 4 rabbits, and about 30 quail! Everybody’s happy and doin just fine. So if you have similar issues, try something like this! It’s been very effective.
Parts featured in this article:
Support us on Patreon!
I hope you've enjoyed this tutorial! Please consider donating on our Patreon page! The more money we raise, the bigger and more elaborate project tutorials we can do for you!
Check out the Patreon Page